Setting up the
Belkin 2-port USB Wireless Print Server was quite easy, though we did encounter some
initial problems with using DHCP to configure the device (we assume that most
home and business users will be using DHCP).
By default, the print server will look for a dynamically
assigned IP address through DHCP for 1.5 minutes after you plug it in. If it
doesn't find one, it reverts to its built in default IP address of
192.168.2.253. We found that this time period was a little tight for reliably
gaining an IP address over a wireless connection. To make things more complicated,
the manual seems to state that you need to hold the reset button
down while powering the device on and off to reset the IP address
to dynamic, but this is not the case.
Holding the reset button for ten seconds without powering off will reset
it, but the instructions as written in the manual do not work correctly.
To avoid this problem, ensure that DHCP is up and running on your
network before you plug the Beklin unit in.
Once we had this wrinkle ironed out, the automated
installation procedure was painless to set up, and
we tested it with three different office printers, from three different vendors (Samsung,
Lexmark, and Epson). The included installation CD must be used on
each system that wants to connect to the Belkin print server.
To do just that, you will need to have the drivers for
your printer(s) installed in each computer that is going to
connect to them through the Belkin 2-port USB Wireless Print Server before
you run the CD application. It will inform you of this fact when you insert
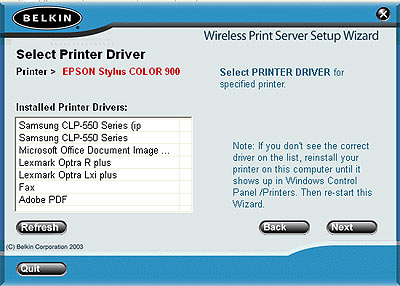
the disk. Once you have the drivers installed, starting the automated
process will connect you to the server and prompt you for the printer driver you
wish to use.

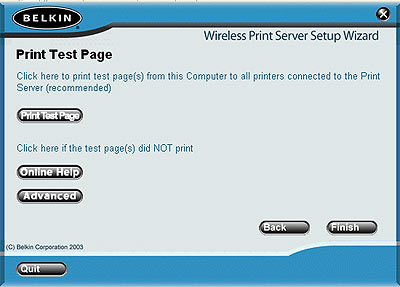
Once you've entered that, all that remains is to print
out a test page.

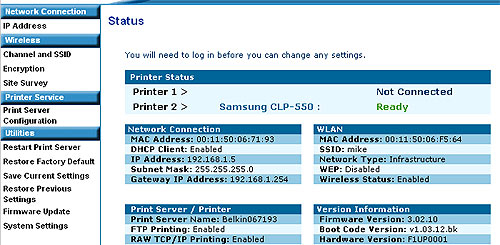
The print server has a built in HTML control page similar
to many home routers. You can connect to this to configure several options
including IP address and DHCP, wireless configuration, encryption and wireless
site survey, print server name, FTP and IP printing, passwords and firmware
updates. The online interface is uncluttered and easy to use, which we liked.

The CD also includes manual versions of the two utilities
that the automated installation process uses. These are used to locate Belkin
print servers and install the special printer port the server uses.
