Installing our optical drive proved to be simple also. The
top-most bay does not have a steel retention plate installed, so we used that
first.  A black plastic bay guard covers each of the bays
though, so we needed to access the front of the case to remove it. This
involved opening the front access panel and unhooking the the bay guard by means
of a convenient plastic tab. This was effortless.
The
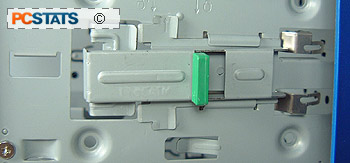
screwless 5.25 inch drive bays use a locking mechanism
which sits on the left side of the bay. Pulling the lever to the unlocked
symbol allowed us to slide our drive into the case. Once it was in
position, a hard pull on the locking lever pushed metal tabs into the screw holes
of the drive, locking it into place. While ASUS does warn that the drive
should still be screwed in if you are travelling with the computer, this installation
method is simple and will keep the drive more than secure as long as
the case is not jostled around too much. If you want to screw the optical drives
in normally, unlocking the mechanism gives you full access to the screw holes and
screws are included with the case.
 If you need to install more than one optical drive,
the metal bay guards covering the other external bays need to be twisted
off with a screwdriver or other metal lever. This process is as
protracted and annoying as it has been with any other case we've ever used,
though fortunately the edges of the metal guards are not that sharp.
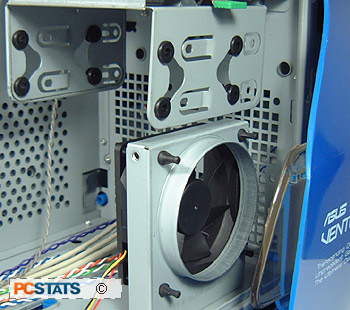
The
removable drive tray at the bottom of the drive stack
holds a pair of 3.5 inch drives. It comes complete with four rubber vibration
dampers for each hard drive, which is a great feature that we wish more
case makers would emulate.
One thing we did notice was
that the instruction in the manual for removing the hard drive bay
appear to be incorrect. They show the bay being removed by pulling it towards the
back of the case, while it really needs to be pulled towards the left side. This
gave us a few moments of utter frustration until we figured it out (and
thankfully we did not sever our fingers thanks to the rounded edges
of the steel casing).
 Putting the
tray back into the case after adding our hard drive was a little harder than
it needed to be also. It took us three or four tries to get right, and
a not inconsiderable amount of force was needed to snap it into place. Compared
to removable tray systems we've seen on other cases, this one is
at best merely adequate.
Once everything was correctly hooked up, our last
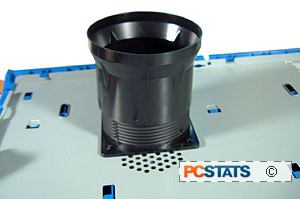
obstacle was restoring the side panel. This proved to be a bit harder than
we'd thought due to the large air vent mounted to the inside of the panel.
After a couple of minutes we got it on smoothly and set about wiring up the
system.
The plastic cable organizer at the rear of the case
allows you to bundle up excess cables neatly if you like, though we didn't have
much use for this feature. The organizer is easily removable, so it's not
a problem either way.
