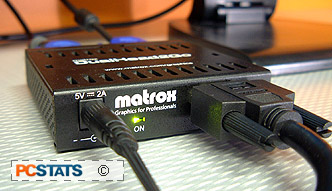
 The actual installation of
the Matrox DualHead2Go Analog Edition is pretty straightforward, once all the compatibility checks are
done with.
First connect up the
external displays to the Matrox DualHead2Go using its 'Output 1' and 'Output
2' ports.
The video signal is spanned left to
right, so the monitor connected to 'output 1' will be the first screen after the
notebook, and the monitor connected to 'ouput 2' will follow the first
external screen.
Next, the instructions on the driver install CD
that ship with the Matrox DualHead2Go call for the host PC to be shut down
so the final connections can be made. The DualHead2Go ships with
a short 24" long black 15-pin male-to-male analog video cable that plugs into the 'input'
port on the unit.
The other end
connects to the external monitor jack on the notebook (or to the desktop
videocard jack). Lastly, the Matrox DualHead2Go just needs its 5V, 2A DC power
cable plugged in. A red LED should illuminate on the front of the DualHead2Go at
this point. On a side note, the AC/DC adaptor is 100-240V (50-60Hz)
capable, so it can go anywhere in the world a laptop will, assuming the correct
plug adaptors also follow suit.
With the hardware connected, we only have to boot
up the computer and install the Matrox DualHead2Go software off of the CD. This package
consists of two background programs; PowerDesk-SE and DualHead2Go. Once this is
done, you may need to restart the PC once before a small "M" icon will show
up in the taskbar.
The light on
the front of the DualHead2Go unit will have changed to green at this point, indicating that
everything is a 'go'.
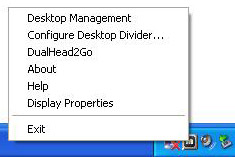 The Matrox PowerDesk-SE software gives users quick access to the following
settings:
- Desktop Management
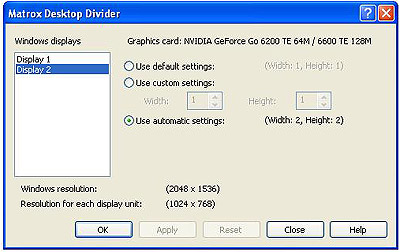
- Configure Desktop Divider
- DualHead2Go (for auto adjusting image quality and alignments)
- Display Properties
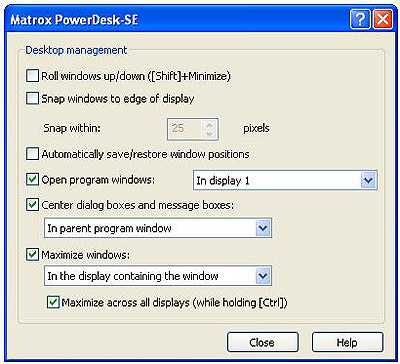
The software allows users to control how windows behave in
the multi-display environment, and offers some simple management controls so you aren't
constantly moving a mouse laterally over the huge expanse.
Adjusting the Spanned Image
Location
PCSTATS tested the Matrox
DualHead2Go out on Toshiba Tecra M3 notebook, which is powered by an nVidia Geforce Go 6200 TE videocard. We connected
two 19" Samsung 191T Plus LCD displays (native 1280x1024) to the DualHead2Go for
a maximum possible external desktop screen size of 2560x1024.
After setting the
desktop resolution to 2560x1024, it was apparent that the desktop
image was a little off center; about 1cm to the right and up in fact. The auto adjust key on
each of the Samsung 191T Plus LCD displays was unable to move
the screen any farther to the left or down.
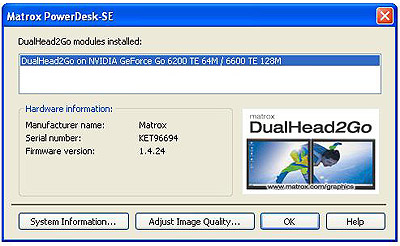 The solution was to use the Matrox PowerDesk-SE 'Adjust Image Quality...' button to force
the unit to realign the screen. It reduced the displacement, though a little
more tweaking was necessary with the monitors' alignment controls.
The same
resolution was tested on a pair of 17" CRT displays, and at first each image
was off center again by about 1cm up and to the right. The 'Adjust Image Quality...'
button helped, but some fine tuning was necessary with the monitor's OSD to
align the lower left hand corner of the display.
On the whole, this left us a little wanting
for manual image alignment controls within the Matrox DualHead2Go software.
Next, we dropped
the spanned desktop resolution down to 2048x768 pixels. At this
resolution the misalignment issue did not crop up at all,
and the image displayed perfectly in the frame of each LCD display. The
initial image was correctly centered on each of the two test monitors,
be it a pair of 19" LCDs or 17" CRTs.
