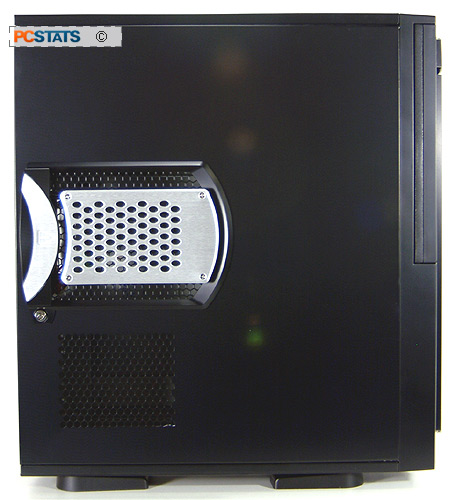
The left side panel features a lockable latch mechanism
and two sets of honeycomb ventilation grills that match up with the
internal fan duct. To get into the case, all you need to do is twist the
thumbscrews that permanently hold the side panels on, and release the hand
latch. Below the door latch is the lock, it's the
same sort of cheap computer case lock that every manufacturer uses to restrict entrance to the inside
of the PC. Like most cases of this general design, the door unlocks and swings out
towards the front until it disengages from the chassis. This makes it really easy to open
up the the iStar Nitro AX to tinker around inside, whilst putting the door off to
one side.
|

A catch slides forward to release the panel off the iStar Nitro AX
chassis. Though it is difficult to see here, there are two honeycomb vents punched
into the panel. The first is just above the videocards, the second behind
the silver vent detail. This upper vent is where the fan duct connects
to, bringing cool air into the CPU fan intake. The Nitro AX stands 21.5" tall, and
is 19" deep.
|
The four plastic feet that support the case rotate
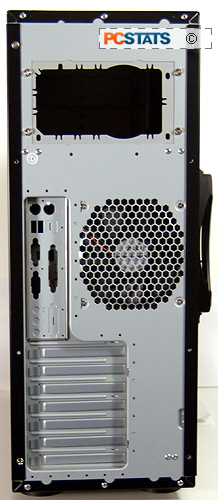
outwards if more stability is desired. At the rear of the iStar Nitro AX case,
and just above the PCI bracket is a 120mm exhaust fans with an added benefit.
This fan can scale up its speed as internal case temperatures rise because it
has a thermistor sensor attached to the motor. It is
positioned directly behind where the CPU typically is.
|
 
The rear of the iStar Nitro
AX chassis with its 120mm exhaust fan and multi-sized opening for power supplies. To
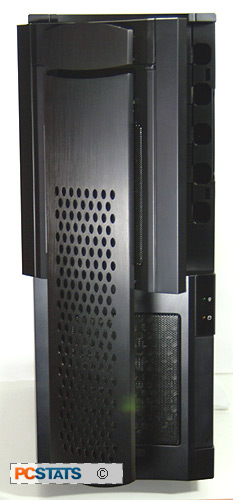
get the plastic front bezel off so you can install a 120mm fan of your own
is a bit tricky. There are three tabs on each side, and these are
accessible only when the both side panels are removed. Be thorough, and
take your time finding them tabs, the bezel will remove easily once they are released and
otherwise you may damage it. Four long screws permanently affix the
120mm fan to the chassis, but there is no power connection in
the vicinity so you will have to use a molex splitter cable to
sort that one out.
|
The 120mm fan is attached to the frame with standard fan mount screws, and this is a
bit odd given all the other components in the case geared towards a reduction in
noise. We had expected this rear exhaust fan to be mounted on vibration absorbing
rubber posts, just as the hard drives are, to decrease the impact motor
vibrations may have on the chassis. The 120mm fan moves air through a honeycomb vents,
which are said to be among the best punched metal style in terms
of air turbulence.
|

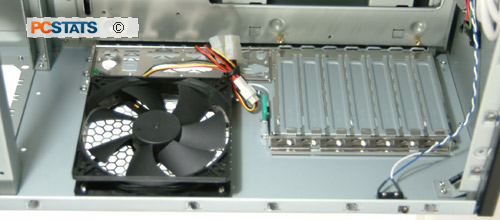
The
thermally controlled 120mm rear exhaust fan, and quick release mechanism
for attaching the PCI brackets. The fan plugs into a free Molex power connector. At right is the case intrusion
sensor - basically a switch which is 'open' when the case side panel
is removed.
|
The rear motherboard I/O shied is replaceable, so the
custom I/O shields that come with motherboards can quickly be popped in
place. Likewise, the iStar Nitro AX case accomodates standard power supplies,
and hot swapping redundant units. The inner mounting plate is removed for the
latter variety of power supply. The right side of the case (when the front bezel is
facing you) is completely featureless and there is no reason to take that side
panel off unless you need to also remove the front bezel and do a
dusting. Let's take a look inside the iStar
Nitro AX case next...
