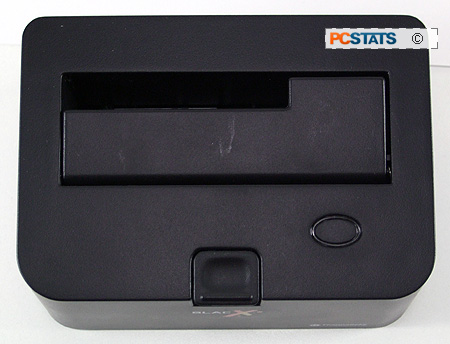
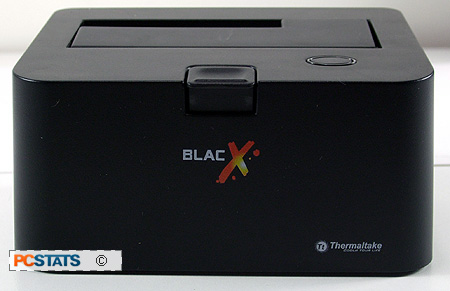
A top flap keeps dust out of the BlacX drive bay, the smaller cutout helps align notebook drives
in the slot. Screws, rails and other attachments on the side
of a hard drive will need to be removed before inserting it into the BlacX
unit.

The hard drive is ejected with the button at the center of the unit. The oval
to the right is a status light; blue for on, red to indicate when the drive
is being accessed.

The
3.5" / 2.5" hard drive
is inserted with the data connectors facing down, leaving about 2/3rds of the drive
exposed. Hard drives can be inserted or removed while the computer is on, in other
words the unit is hot swap compatible. Most large hard drives will get
rather warm after a few hours of use, but since the drive isn't enclosed
in confined space heat build up isn't much of an issue.
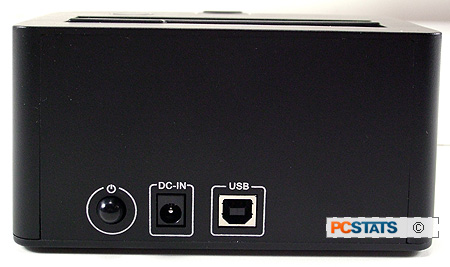
At the back of the Thermaltake BlacX is the power button, DC power
connector (DC 12V / 2A, AC100-240V, 50-60Hz power brick), and USB cable connector.

Once the Thermaltake BlacX is connected
to the computer with the USB 2.0 data cable, turn it on. From then on
you can install or remove hard drives from the bay as you wish.
