When you sit down to install a new case
with all of your computer hardware, that's when you really know if you've got a
good chassis or not. Sliced fingers, inaccessibility, and complicated brackets
can all frustrate the steps need to make a pile of computer gear a computer.
Here are a couple of the things we noticed when going about the steps for an
average installation.

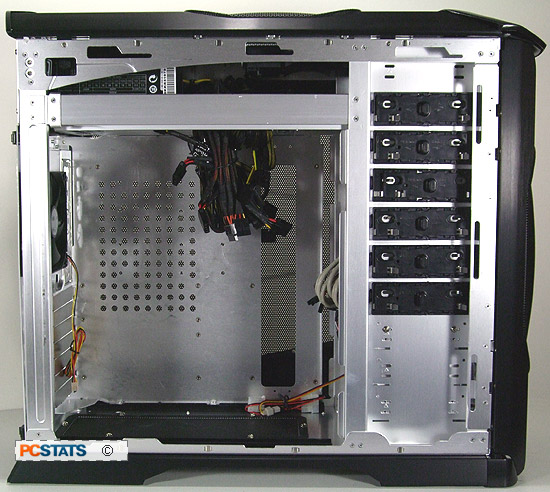
Inside the Cooler Master Stacker 830 SE is a lot of space and you may find it
easier to leave the motherboard tray in place and install the motherboard in
the standard fashion rather than remove the tray. All of the PCI expansion slot
covers are secured with thumb screws which are easy to remove without tools.

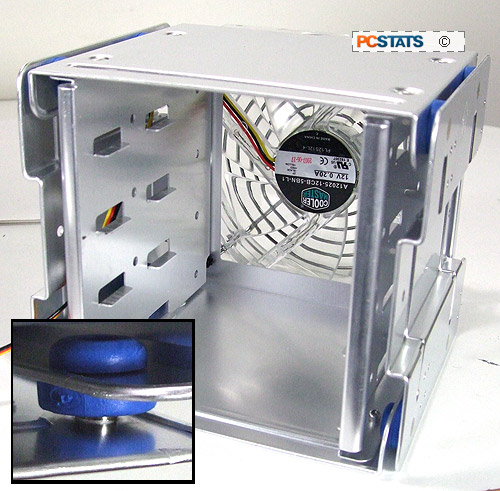
Hard drive caddy holds four
HDDs in place on rubber shock absorbers. |
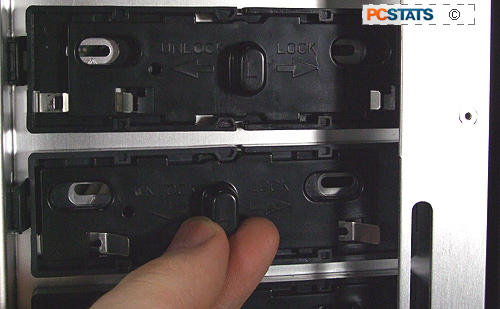
Installing 5.25" devices is a snap with Cooler Master's rail system. Simply
remove the front panel cover, slide the drive in place (along the drive rails)
and move the securing mechanism to the "LOCK" position. Installing 3.5" HDDs are
the same as with a standard HDD and requires tools.

As mentioned earlier Cooler Master has chosen to install a Real Power RS-A00-EMBA 1000W power supply with the system but if your case doesn't come with one, you can install anything you want. There's a power supply support rail (which is fairly hefty) that runs along the inside of the case which will help support the weight of larger power supplies. There's a lot of space inside so if you're using a very long power supply don't worry you can use it with this case.
