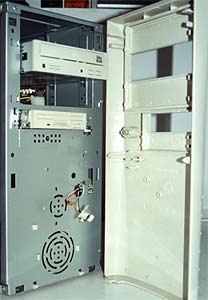
Access to the guts of the case are via a screwed in
one-piece cover which flips up for removal (like the old 486 boxes used to).
With its cover removed we'll take a look at the rest of the HX45 features as if
we were installing a system from scratch. That said, the most obvious feature
lacking is a removable motherboard tray. A pain in the butt to some of
you, not a big deal to us though.
Installation of a CD-ROM or like 5.25" drive is via
screws and not rails. On a case of this size rails really don't make that much
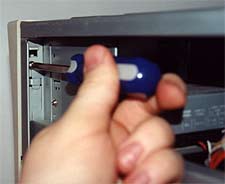
sense. When starting from scratch with a drive installation, the metal knock
outs must be removed. For this to happen we found a series of steps were
necessary. Unfortunately this is right about were the HX45 starts to loose its glow.

The first step to remove the metal knockout is to remove
the front bezel. Aopen attaches the bezel with screws and snap-in clips,
so this is not an easy thing to accomplish. Add to this fastening marathon the
necessity of unclipping the reset and power switch, and unplugging all the
activity LED's from the front (have fun putting them back in).

With the front removed, the razor sharp metal knock-outs
can be removed with relative ease, and drives inserted. Obviously the idea
should be to remove these knockouts without having to remove the bezel, but this
proved too difficult. Why? Because while attempting to remove the metal it would
get stuck between the plastic and wedge itself in super-tight. Hence the need
for this expansive procedure.
Custom components and neat
features.
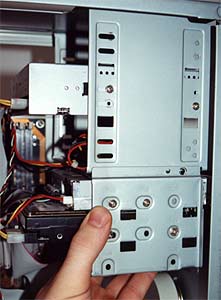
At least the installation of the HDD is an easy one. The rack which holds
these components slides out with the removal of just one screw. Which, free from
the frame, can have its HDD or FDD installed quickly via screws.

