|
MaxBlast Installation Software
Usually the installation of a new hard drive is
something for a techno-savy person to handle, and not generally something
everyone will want to do on their own. Typically the drive is dropped into an
open bay, the jumpers are set to slave or master so that it doesn't conflict
with another drive and the BIOS is told to go look for this new drive. Once the
computer knows you have put in a new drive it's still up to you to partition
the drive, and then format each of the partitions so that data can be
stored.
For someone not familiar with Fdisk, this can be
hazardous, especially if there are other drives in the computer which might
accidentally get their partitions deleted or whatever. To alleviate all these
concerns and in general to make the whole process of installing a new drive all
that much more simple, Maxtor have developed a very useful program called
MaxBlast. You can download MaxBlast here. Basically what you
do is insert a floppy with the program in the A:\ drive and restart the
computer. So long as the BIOS is set to try and boot from the floppy you will be
kicked into the program once the computer restarts.
From there you will be sent through a bunch of screens
which help the software figure out what you want it to do (make a copy of an
existing drive, format and partition a new or existing drive, etc.
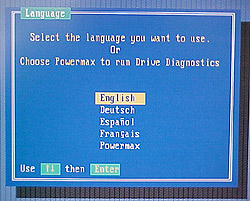 |
First choice is what language you would like the
sofware to work in. |
|
|
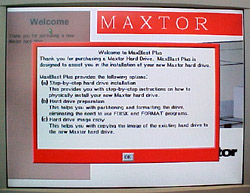 |
The software guides you through step-by-step
instructions on how to physically install the HDD if it isn't already. It
will also allow you to quickly and easily partition and format the HDD.
Finally, you have the option to copy an existing drive onto the new
drive. |
|
|
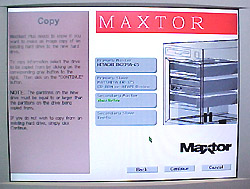 |
At this point, the software gives you the option
to make a drive image copy from an older, or existing HDD onto the newly
installed HDD. |
|
|
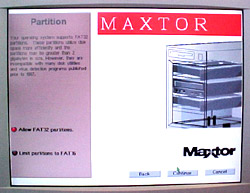 |
For our drive, we only needed to partition and
format the HDD. Rather than limiting the format to FAT16, we enabled FAT32
partitions. |
|
|
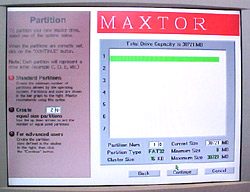 |
Through a small display, you can adjust the
number of partitions you would like to have on the drive from 1 to
whatever number you choose. The software also gives the chance at this
point to adjust the size of each partition. |
|
|
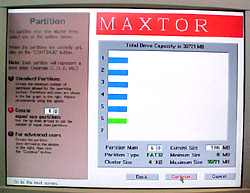 |
We decided upon six 5GB partitions, which showed
up as 6 evenly sized bars in the display. Had we made one drive larger or
smaller that would have been represented by the graphics. |
|
|
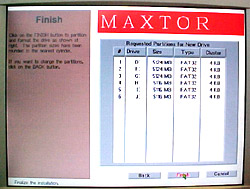 |
Once the drive has been fully partitioned and formatted the size, type,
and drive information is displayed.
The software is very simple to use, so it is difficult to make any
mistakes when setting up a new hard drive. |
|
|
|
|
|
|
