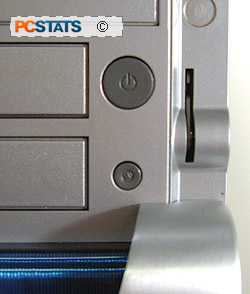
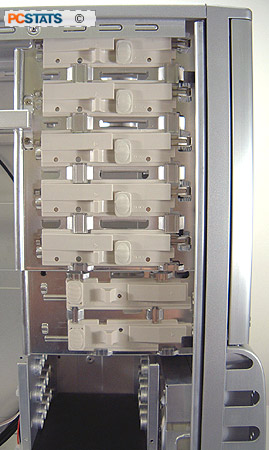
 The
external drive bays are tool-free and use dual locking
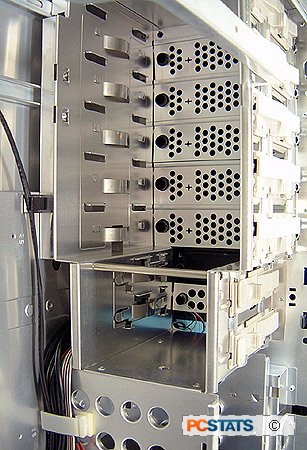
mechanisms to secure the drives. The internal 3-1/2" hard drive bay can
hold five drives and uses the included rails for installation. A
rail must be clipped to each side of the hard disk, then it can be pushed into
the slot where it will clip securely in place. We appreciated the vent
holes punched into the side of the hard disk chassis, though it would have
been nice if the whole drive bay was removable.
The rear
expansion ports are also screwless; the black locking tab above
the ports holds down the securing mechanism which swivels open,
allowing access to all ports.
The 120mm fans are practically silent and are lit up with blue LEDs, making
for a nice display in a darkened room.
Installation and assembly
Now let's go
about installing components into the Gigabyte 3D Aurora to see just how
this case works in practice.
As we
said, the side panel is easily removed with the latch, opening up the
interior. Motherboard spacers need to be installed on the tray, and these are
included with the case. The extra height of the 3D Aurora comes in handy
when installing a motherboard, as all but the last two external 5-1/4" drive bays are
above the plane of the motherboard, meaning you can install at least three
devices without overlapping or interfering with the board in any way. The
drive bays are also quite long, so most CD drives should not overlap the
motherboard regardless of where they are installed. Installing a
motherboard proved to be simple, as we expected.


The expansion slot covers
are held by a single black locking tab which secures a swivelling locking
mechanism. When this is opened, you can easily remove the slot covers and
install your PCI Express and PCI hardware. Closing the tab then locks the
expansion cards into place.
