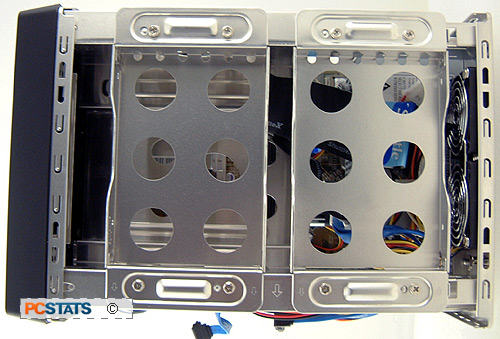
To access the inside of the Shuttle XPC SN27P2, you'll
first have to remove the outer shell. After that's done, you'll be greeted by
the two aluminum hard drive cages. They are aluminum because the rest
of the chassis is, not because this will greatly impact HDD temperatures.

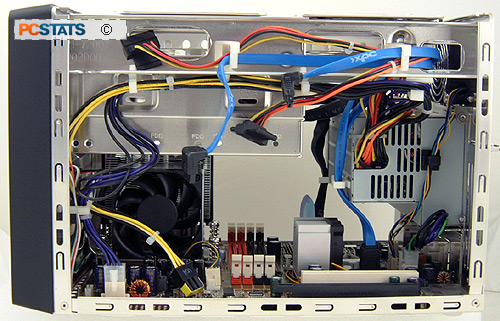
There is enough space at either side of the PC to access
the memory slots, install a 5.25" device, or swap out a videocard or peripheral
device. In a lot of small formfactor computers you practically have to dismantle
the entire PC to access these components, so Shuttle gets a good pat of the back
for designing this chassis so well.

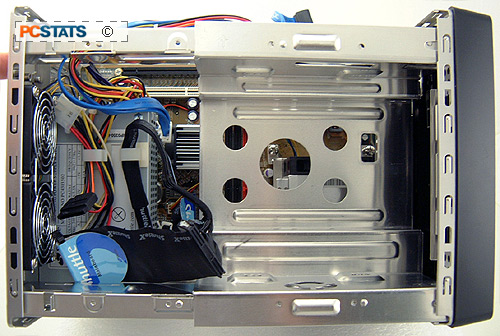
Continuing on, remove both the 3.5" HDD trays and the
bottom cage which supports a 5.25" optical drive and 3.5" FDD will also slide
out without much difficulty.

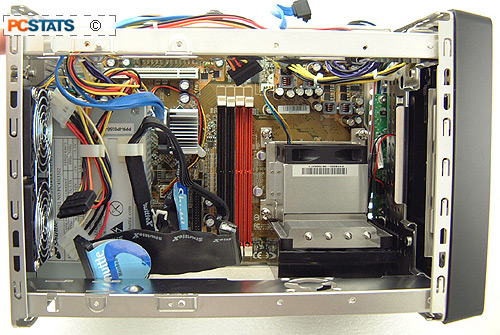
After these three trays have been removed, you have full
access to the rest of the various components inside the system XPC SN27P2 from
the top. Generally, you only need to do this once, when installing the
processor.

At the very front of the Shuttle XPC SN27P2 system is
the CPU and heatsink; the system is based on the BTX motherboard design standard
which calls for the processor to be situated at the front where air should be
coolest.
