The Gigabyte GA-Z68XP-UD3-iSSD motherboard uses a
traditional text-based BIOS augmented with a Windows based hybrid-EFI BIOS
called 'Touch BIOS.' While novice users may not know what the BIOS is or how to
use it, I think most enthusiasts prefer the quick responsiveness of the
text-based UI and its familiar menu structure. It's an interface that's been
refined for decades and it simply works - at the end of the day that's all we
want.
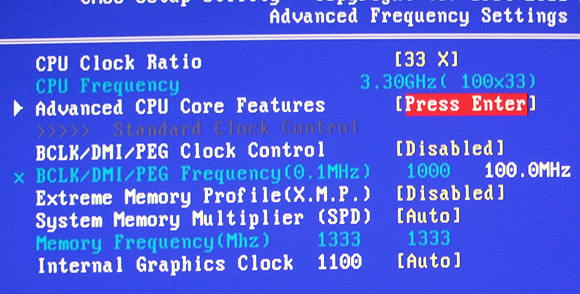
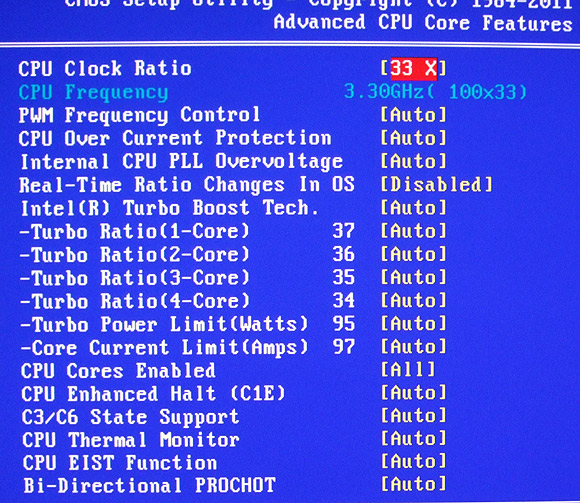
The main overclocking controls for adjusting the CPU
multiplier (and BCLK frequency) are found in the Advanced Frequency Settings
page.
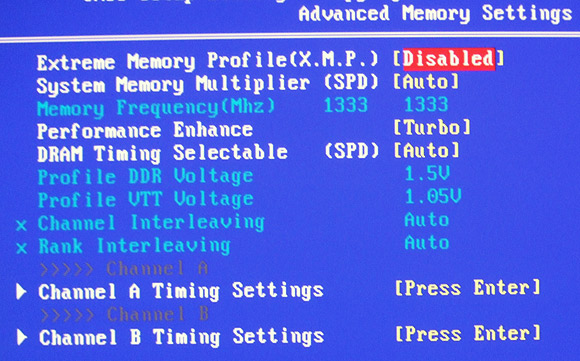
The BIOS has extensive memory control options,
timings can be set down to the individual clocks cycle, per channel.
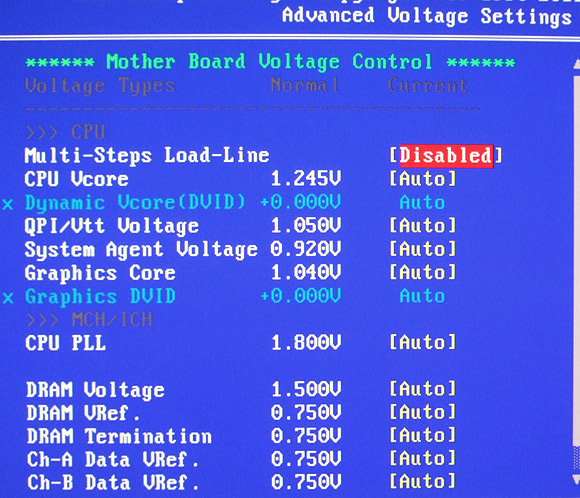
Users can adjust pretty much every electrical
setting they want in the BIOS, although this feature is only recommended for
expert usage.
Gigabyte Touch BIOS
Gigabyte's Touch BIOS fills a new role without replacing
the existing BIOS at POST, so it's a good mix. PCSTATS especially likes the
ability to do a BIOS update from within Windows and the way settings are largely
presented in a textual drop-down format. There are some added features in Touch
BIOS for taking screen shots, inserting bookmarks on certain BIOS pages and
organizing the BIOS icons to suite a users individual needs.
This is what it looks like from within Windows 7:
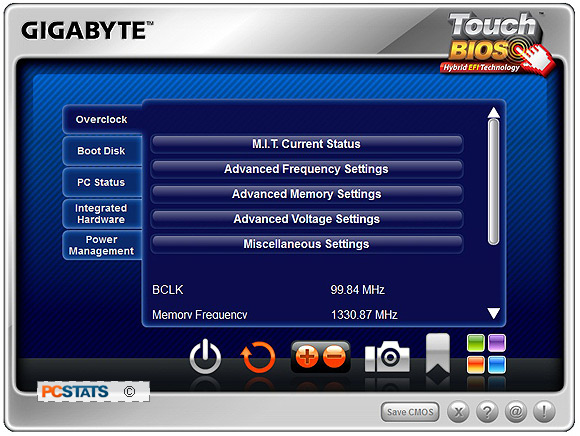
Gigabyte Touch
BIOS runs in the Windows 7 environment.
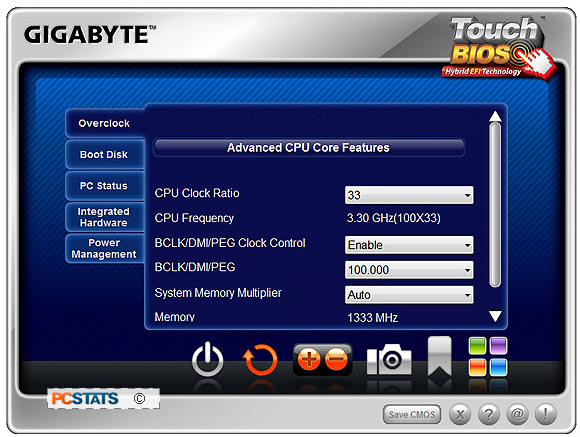
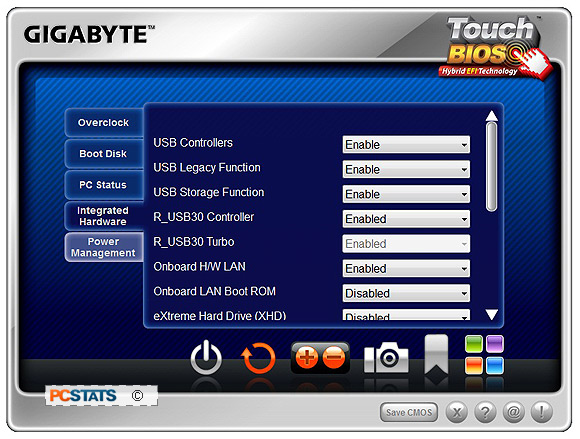
Gigabyte's Touch BIOS has big graphical buttons and is
accessible from within Windows, putting it on more familiar ground for users who
may have never opened up their BIOS at POST. Best of all, if you're NOT a fan of
UEFI BIOS interfaces you're not forced to use a sluggish UEFI BIOS!
On a side note, I have to say that PCSTATS has been
really disappointed in every UEFI BIOS from the likes of ASUS and MSI we've
tested to date. The graphical user interface is way too sluggish, each
motherboard maker has confusing interfaces and random iconography which only
complicates things further. Anyway, with the BIOS covered, let's move onto
overclocking!
