 The Gigabyte GN-B49GU ships with the power
adaptor (fairly small) an Ethernet patch cable and a mounting bracket which can
also be used to stand the router on end. A printed manual is included, but
no CD, as the configuration software for the router resides inside the device
itself.
The
GN-B49GU itself is very unobtrusive and professional in appearance and plain
white. It's identical to its sister device, Gigabyte's GN-A17GU Access point
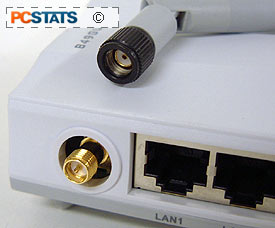
with the exception of a smaller, more flexible removable antennae.
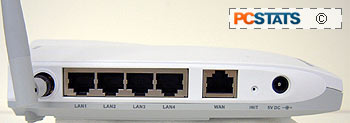
Four Ethernet LAN ports and a WAN port for
connecting to your cable or DSL modem run down the side of the device. LEDs for
power, WAN and wireless LAN connections, as well as a single LED for each
Ethernet port sit discretely on one side of the device's top.
 The manual, though covering
every function, proved to be rather poorly written... or at least poorly
translated. This is an unfortunate feature for such a complicated device,
and we were initially left scratching our heads at how to use some of the
features of the GN-B49GU.
Installation and setup
The
manual for the Gigabyte GN-B49GU
requires that all computers should be set up to 'receive IP addresses
automatically' and gives detailed instructions on how to do this on a variety of
Windows versions. This is not an actual requirement for use of the device,
but is done to assure that all computers initially have an IP address assigned
by the router so they can communicate with it.
We tested
the GN-B49GU with a DSL connection, and as soon as
we had our test machine plugged into the router we opened up Internet Explorer. We
were expecting to have to enter the IP address of the router in
order to configure it, as is normal with these devices. Imagine our surprise when
IE opened up to a screen informing us that the GN-B49GU had detected
a PPPOE (Point-to-Point Protocol Over Ethernet, the protocol that DSL uses) connection,
and prompted us for our username and password! Impressive, and a very
nice touch indeed!
Once we entered the
information, the router rebooted itself and instructed us to steer IE to
192.168.1.254 to configure it.
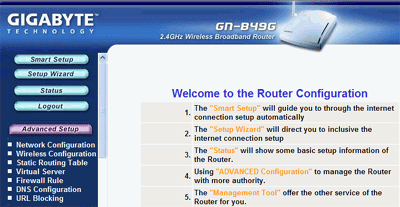
Entering that IP address
brought us to the rather pleasant looking main screen.

The software seemed to have a few rough edges
though. Both the 'smart setup' and the 'setup wizard' simply
made us enter our DSL information aga
