Select the location for the archive as before, then choose the type of backup. Generally speaking, unless you are backing up a large amount of data, use the 'normal' setting, which simply backs up all files. The other settings will back up only files that have changed since the last backup, depending on the circumstances.
You may choose to have the system verify the backup after it is made, and then you will be asked to choose between appending the backup data into the archive file, or overwriting the old file with the new backup. In most cases, overwriting the information is a better choice, unless you anticipate needing to restore an older copy of your data, since appending to the archive will double the size of the file each time you do it, and it can quickly eat up a lot of drive space.
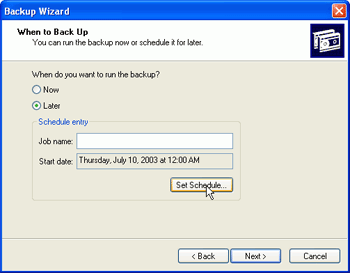
Now you need to set the name and schedule for the backup operation. Name the operation, Ensure that the 'later' button is selected, then click on 'set schedule'

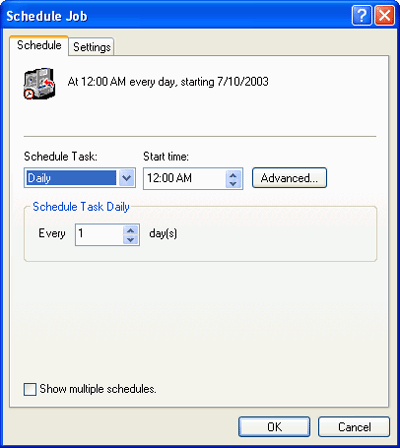
From here, you can select the interval and the time you wish to use for the backup (daily, weekly, monthly, etc.) and several other settings for automatic backup jobs. Set your times, click 'ok,' then 'next'

Enter the password for your user account. The system will use this to run the backup process automatically under your user account settings.

