Once the PC has found the A:/
drive, and booted into DOS, it should leave you at the A:/ prompt. At this
point, replace the boot floppy disk with the floppy containing the BIOS update
files.
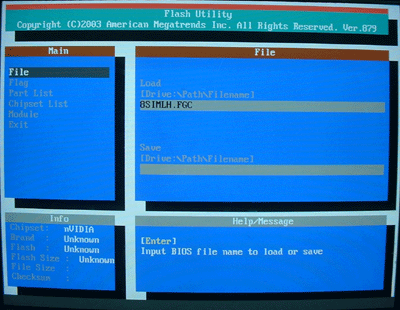
If your BIOS update included a
batch file, type in its filename now at the A:/ prompt and press enter. It
should automatically start the BIOS flashing program and provide it with the
data file to be used. All you need to do now is give the go-ahead to start the
actual writing process.
If you do not have a batch
file, enter the file name of the executable file on the disk at the A:/ prompt;
for example A:/flash879.exe or A:/awdflash.exe. Hint, just type in awdflash.exe,
and not the "A:/" part ;-)

You will be prompted for the
filename and location of the data file. Enter A:\(datafilename).
You will also be offered a
chance to save your existing BIOS. It's a good idea to have a copy of a working
BIOS in case of an unexpected emergency. If you wish to do this, enter a valid
location such as another floppy disk or a location on your C:/ drive.
Once you have entered the
information, press ENTER or 'F' to start the flashing process. Read the warnings
and confirm.

The software will now start
updating your BIOS. It will take several minutes, during which you must make
sure NOT to power off or reset your system under any circumstances!
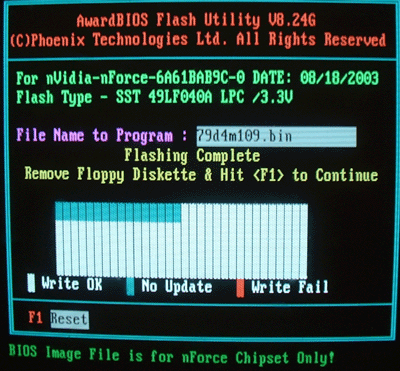
Once the BIOS flashing process
is complete, you will get a status report (generally 'ok' or 'failed') and be
prompted to restart your system.

