The AMD processor should sit flat in the AM3
socket with the little gold triangle pointing towards a similar alignment mark
in the socket. If the CPU is not flush in the socket, or refuses to seat
properly, remove
the chip and check the orientation once
more.

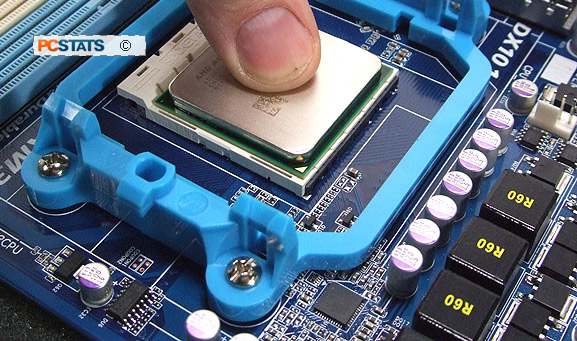
Press the processor down to ensure it is sitting flush in the socket with one finger

Step 3: Lock the
processor in position by closing
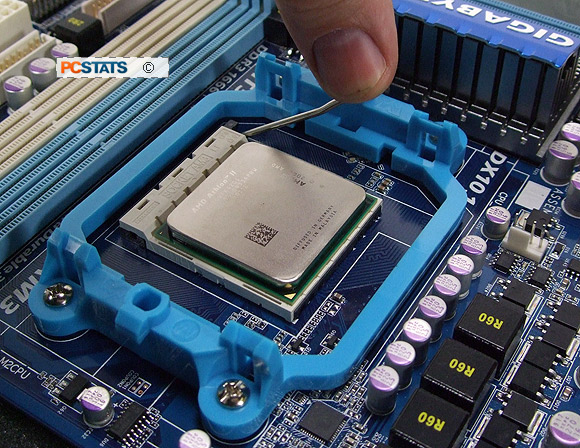
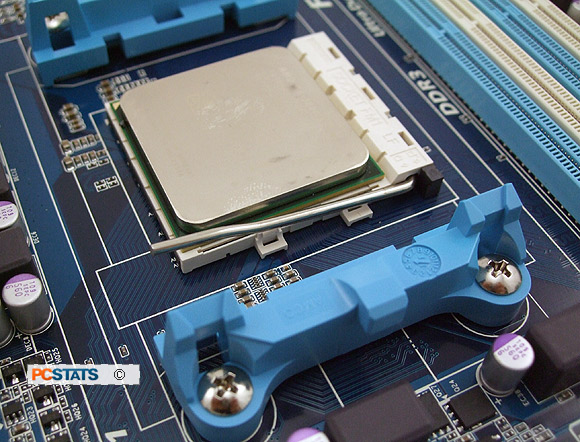
the metal socket cam lever arm. It must be closed completely. In the image
below the arm is not completely closed which is
a common mistake novice computer
users make.
 ddd
ddd
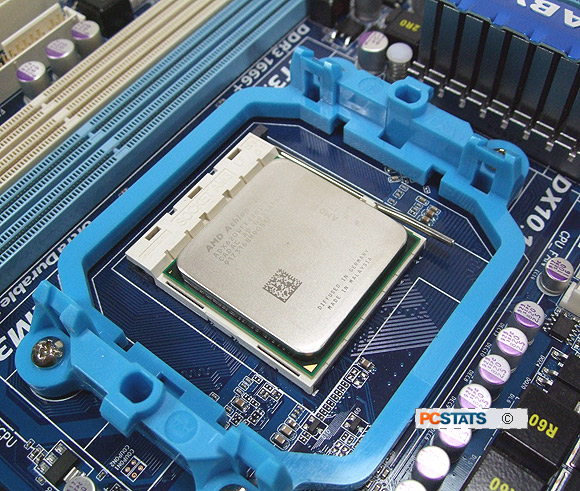
Push the metal lever down until it 'clicks' into position.
Now it is fully closed.

Your AMD processor
is now correctly installed in a socket AM3 motherboard and ready for the next step, installing the CPU
heatsink. Before you can do this though, you may need to install the motherboard into your
computer case. If you need any help on this topic, see this PCSTATS Guide
on that subject.
Now it's time to install the heatsink, this isn't
complicated but can be a little tricky in the confines of a cramped computer case. PCSTATS
will be focusing on an AMD reference heatsink for this part of the DIY Guide.

