Lay your computer case down flat so that the motherboard and heatsink are facing you, powered off and unpluged from the
wall.
Unplug the heatsink fan power cable and
unlock the heatsink cam lever arm by rotating it 180 degrees.
This will remove the clamping force and allow you to unhook the metal clips from the plastic heatsink retention cage
tabs.
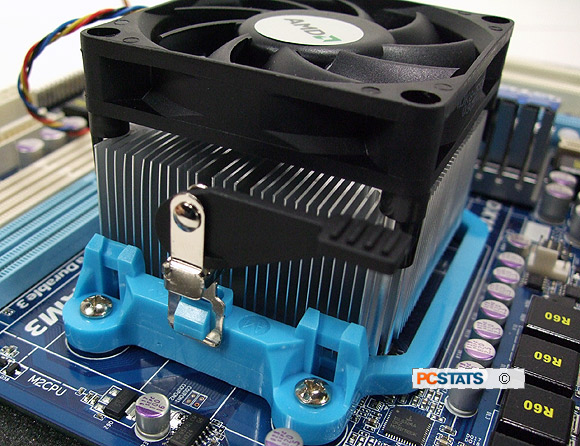
(locked)
Using your fingers, unhook both of the
heatsinks' metal clips from the motherboard heatsink retention cage. There is one metal clip on each side of the
heatsink.
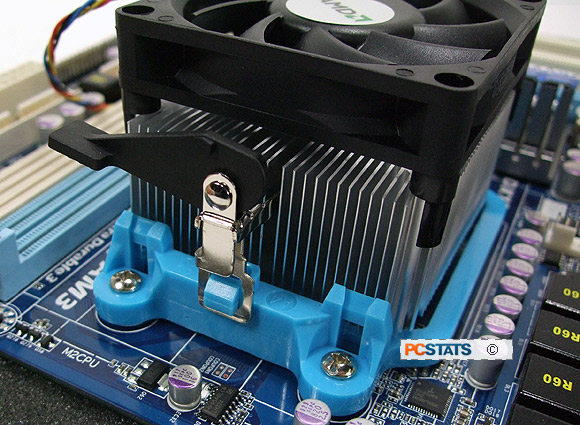
(unlocked)
To remove the heatsink, DO NOT simply pull straight up with force. Doing
this will probably pull the CPU from the AM3 socket forcefully and bend a row
of electrical pins in the process.
To safely
remove the heatsink we must weaken the thermal compound bond
between the heatsink and CPU a little. The thermal compound has the viscosity of
peanut butter so there will be a bit of resistance due to surface
tension between the two compressed, flat surfaces.
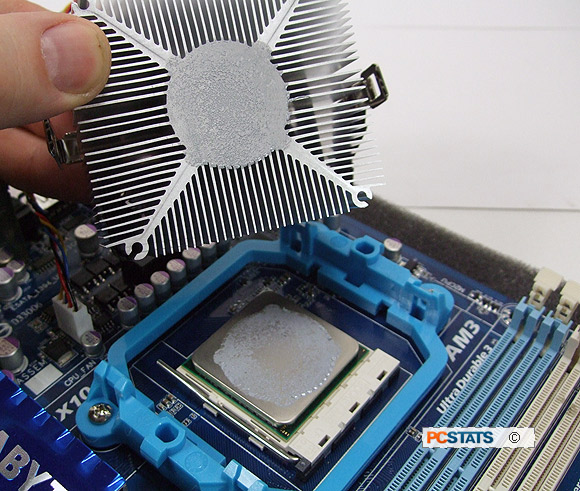
The easiest way to separate a heatsink from an
AMD processor is to slightly twist the
heatsink, repeatedly, back and forth while pulling up towards one
side of the heatsink. This will gradually break the surface tension of the thermal compound
by allowing air to be introduced along one side of the joint, at which point
the heatsink will lift free without effort.
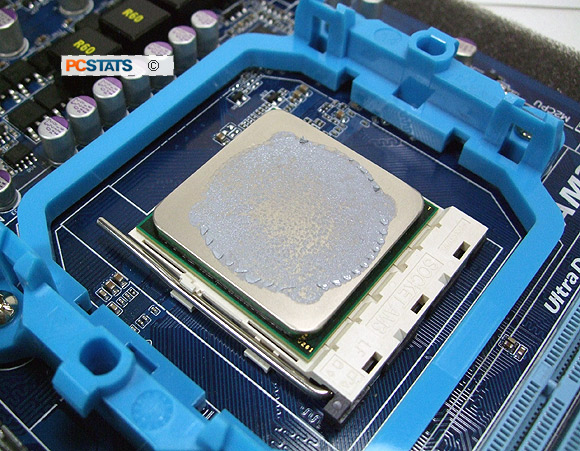
Set the heatsink aside upside down and find a bit of
paper towel to clean off the old thermal compound. It's much easier to wipe the
chip clean while it's held by the socket, so grab some paper towel and wipe
the thermal compound off the surface of the AMD socket AM3 processor.
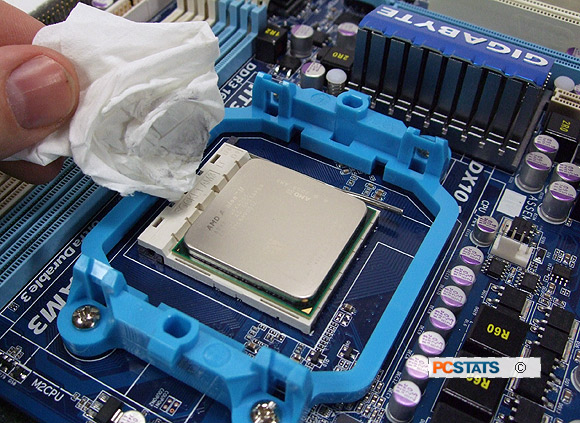
Always apply fresh thermal compound
when installing a heatsink and always wipe off old thermal compound
immediately. The stuff is messy and hard to clean
out of clothing, so wipe your hands off on paper towel thoroughly.
To remove the AMD socket AM3
processor, unlock the socket by lifting up the metal socket cam lever 90 degrees.
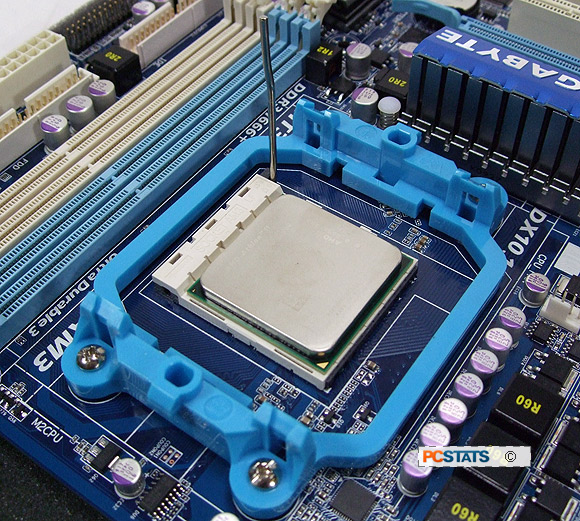
There are markings on the corner of the
AM3 socket to indicate locked and unlocked positions, should you be unsure.
Hold the processor by its edges with your
thumb and forefinger and lift the CPU vertically out of the socket.
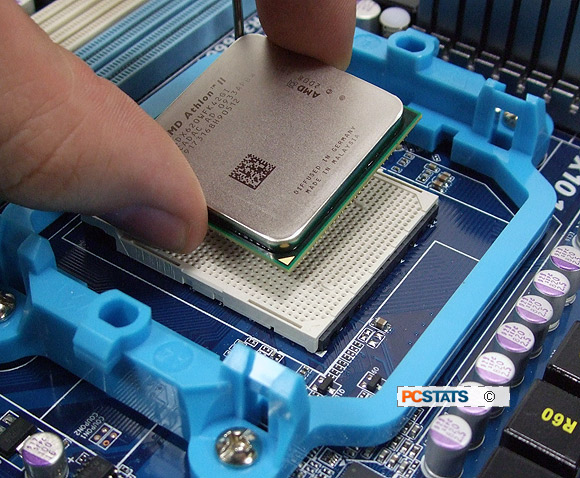
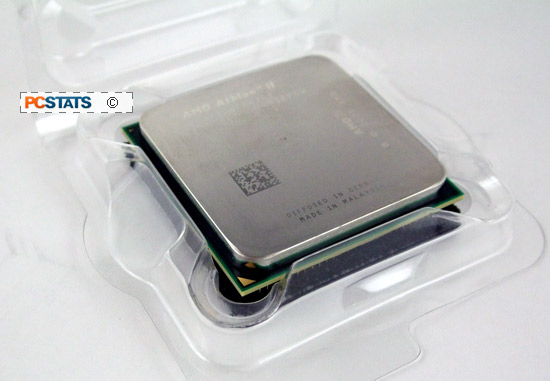
Immediately
place the processor back in the chip carrier that
came with the CPU box or onto a piece of antistatic foam.
Close the metal socket cam lever arm, and you're done! The motherboard should go
back into it's antistatic bag if it's been removed from the case.
The steps outlined in this PCSTATS DIY Guide work for both AMD socket AM3
and AMD socket AM2/AM2+/AM3+ processors.
What's the Best Socket AM3 Heatsink?
Our sister site Frostytech.com has some good recommendations on the best
AMD compatible heatsinks, have at Frostytech's Top 5 Heatsinks chart if
you're looking to upgrade your CPU cooler.
If you have any comments or questions, please post them in the PCSTATS Forums. Find out about this
and many other reviews by joining the Weekly PCSTATS.com Newsletter today!
Catch all of PCSTATS latest hardware reviews right here.

