To remove the Intel socket LGA1155 processor, first
release the socket lever cam arm by pressing it down and away from the catch, then lifting
back to disengage the top metal load plate until it hangs loose.
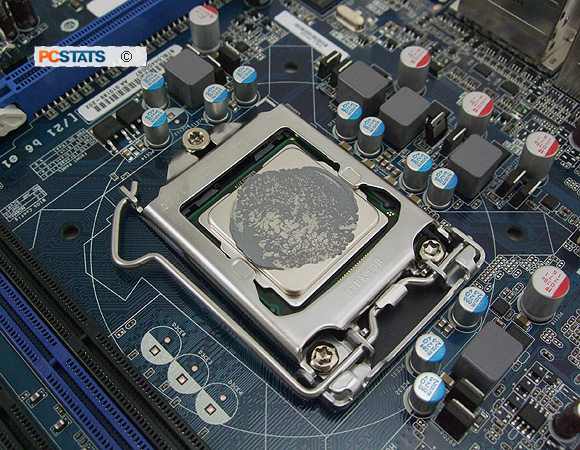
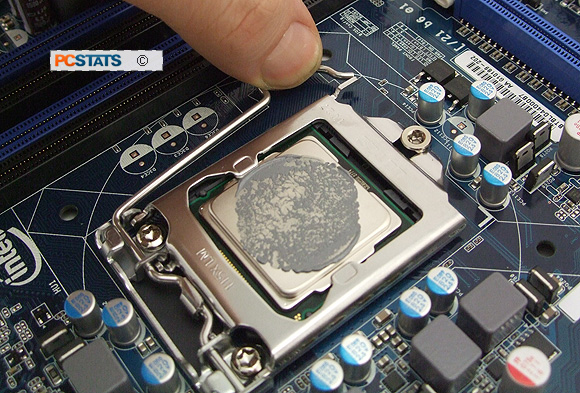
(Release the socket lever cam
arm)
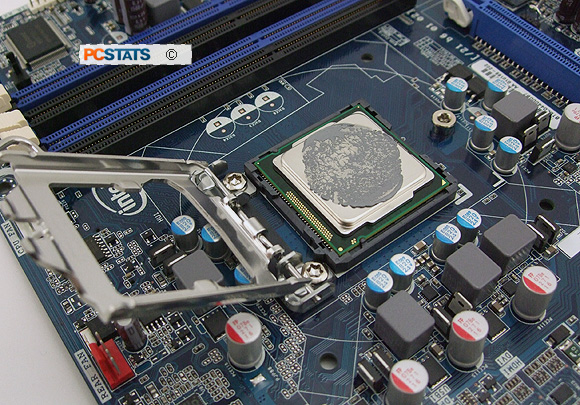
To
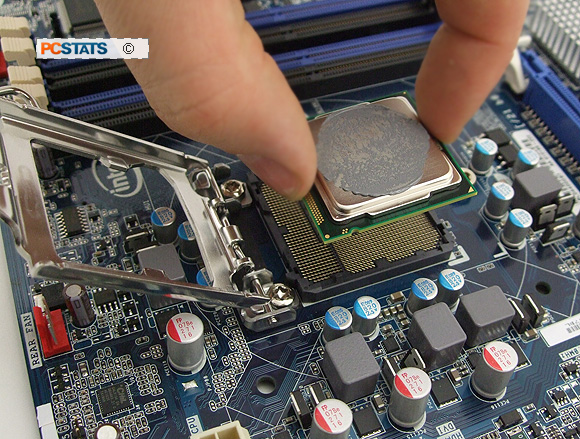
pick up the processor correctly, you'll need to gently grasp it by the
edges with your thumb and forefinger. There are two gaps in the plastic wall of the socket
that correspond to each finger, making it easier to grasp the CPU.
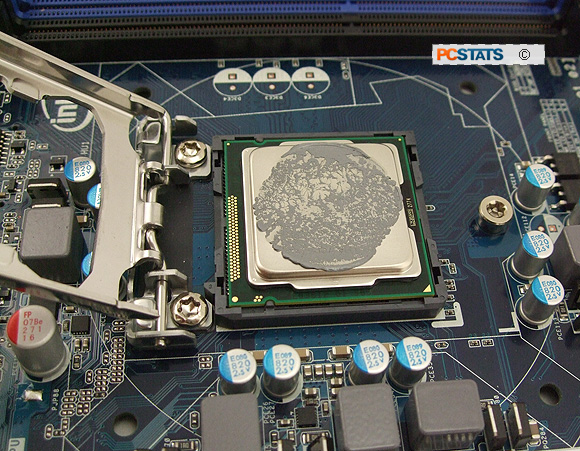
Lift the processor vertically out
of the socket and place it back in its plastic protective cover.
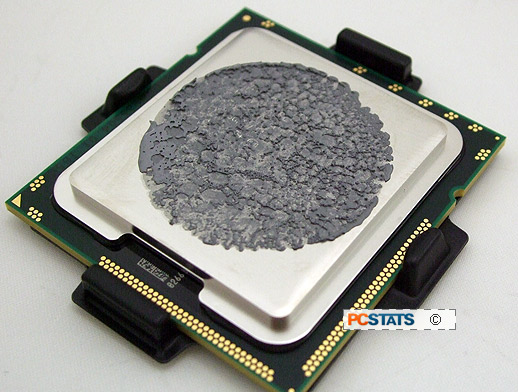
Grab some paper towel and wipe the thermal compound off the
surface of the processor. Always apply fresh thermal compound when installing a
heatsink and always wipe off old thermal compound immediately. The stuff is
messy and hard to clean out of clothing, so wipe your hands off thoroughly
too.
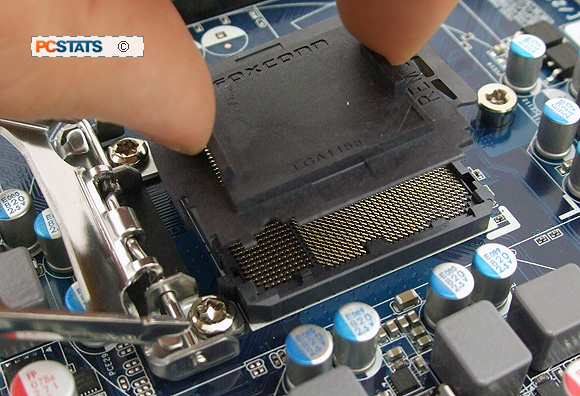
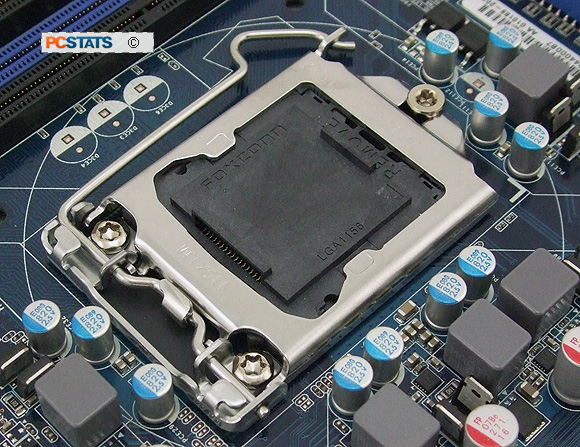
If you are not installing a new LGA1155 CPU right away, replace the plastic protective cover back over the
socket and close the metal load plate. Then lock it back
into place with the lever. You're done!
The steps outlined in this PCSTATS DIY Guide work for Intel
socket 1156 processors as well.
What's the Best Socket 1155 Heatsink?
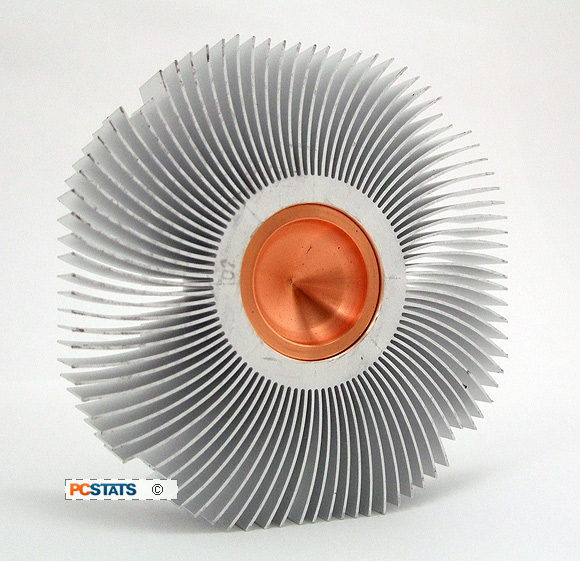
Our sister site Frostytech.com has some good recommendations on the best Intel
Core i3/i5/i7 compatible LGA1155 heatsinks, have at Frostytech's Top 5 Heatsinks chart if
you're looking to upgrade your CPU cooler.
If you have any comments or questions, please post them in the PCSTATS Forums. Find out about this
and many other reviews by joining the Weekly PCSTATS.com Newsletter today!
Catch all of PCSTATS latest hardware reviews right here.
