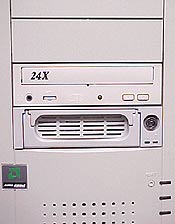
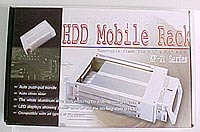
Removable Aluminum Hard Drive Rack
 Removable hard drive racks
always seem to make the cheapest of cases look that much more important.
Naturally, their mobile nature makes pulling out
that 'special' drive a snap. Whether this be for security reasons, for
upgrade concerns, or because you need to move a lot of files between a series of
computers is up to you. The ease, and convenience is what counts, and removable
harddrive racks are where its at! In our humble opinion any way's ;-)
Most of the hard drive racks we've seen in stores are
rather shoddy, and when cooling a 7200RPM hard drive is concerned, fairly poor
at best. So it was with some high expectations that we picked up this aluminum
hard drive rack that came with an internal cooling fan.
 |
The
KF-21 sells for about $45
CDN. You get the rack, and a pack of mounting screws. Yehaw!
Instructions are not included.
|
This particular drive rack cost about $45. Rather expensive as far as
peripherals go, but it is made from extruded aluminum and even includes a fan
at the very back, among some other rather cool features. But most importantly is
that it appears to be rather well made. The unit is one you might find in a
hosting company, or a high-end computer.
Getting your hard drive into the
rack:
 Installing a drive into this rack
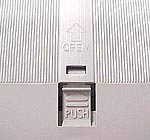
is an easy affair. The drive caddy pulls out of the unit easily, and a small latch is
the only thing which needs to be pushed down to remove the thin aluminum cover
over where you place the IDE drive.
The drive caddy itself is mostly aluminum, so it gives the unit a more
rugged look than some of the less expensive plastic varieties we've reviewed before. A Molex connector and
an 80-wire UDMA cable hook up to the hard drive which can be secured to
the removable caddy with a few screws.
With the drive installed, the aluminum cover is slid back on and all that
remains is to install the docking station in an empty drive of your computer.
Quite simple as hard drive installations go.

 |
The back of the KF-21 is like the back of a decent
CD-Burner: IDE cable, connect, Molex power connector, and small cooling
fan. Setting the drive to master or slave is done on the harddrive
itself. |

