Elan Vital T10 Case Review
With the T10, Elan Vital has managed to
assemble what has to be one of the worst cases we've ever used. The odd thing is, on the inside of this horrible case they've included some very cool features.... That's of little comfort however, considering how badly the case has been designed on the outside. H'mm... a case that works well on the inside but is impossible to use. Great - just what we all need!
In all fairness we tried to give this case
the benefit of the doubt, but after using it for some time now it has only managed to get itself chucked into a corner of the storage room - next to the old 486 AT case. The 486 AT case, I might add, has been seeing more use as a print server lately.
Why do we think the T10 is such a badly designed case? Well it has nothing to do with materials, or anything along the lines of razor-sharp corners, but rather the bezel and the design of the frame. Those two areas represent the key components of any case design, and any deficiencies
shine through more than glaringly.
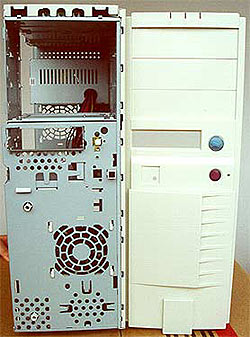 |
Make sure you remember this bezel as one case you should NEVER
buy.
The case come with 3X 5.25" bays, 1X 3.5" FDD bay
and 3X 3.5" HDD bays. An 80mm intake fan and 80mm exhaust port round
out the cooling features. Power comes from a generic 250 Watt ATX power supply.
The reset switch is only accessible with a
paperclip or pen, and the power switch is next to impossible to use. |
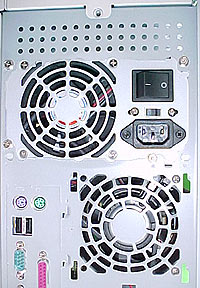
Cooling on the T10 is of the usual flair. Air vents are positioned at the top of the case directly above the powersupply to allow hot air to naturally escape, and an intake and exhaust fan are positioned at two locations to help with air pressure.
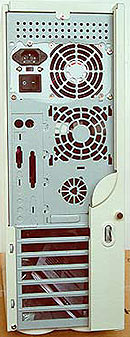
Both the intake and the exhaust fan areas are 80mm in size, but only one fan is included with the case. The venting on the bezel is almost non-existant, rendering the effectiveness of the intake fan quite questionable.
While the sheet metal used
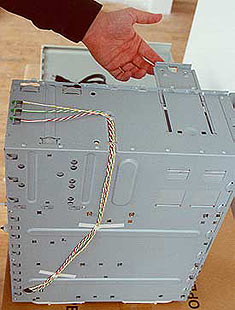
in the construction of the T10 is of good quality, the case is a veritable jig-saw puzzle waiting to happen. As such, it is difficult to get into easily.
|
|
 |
|
To open this case there are several steps. The first is
to unscrew a locking mechanism on the rear of the case, where if
necessary a lock can be placed.
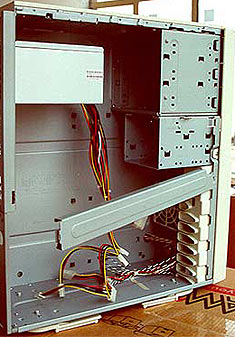
Once the locking screw is released the side of case slides back, and then up. To install a motherboard or get better access to the inside, a
support bar must be removed. The bar just pops out of its position.
With the top and other side panel removed it is easy to see why this case is so complicated. There is almost a double layer of metal over the entire case. Again it is not a question of quality of materials, but rather poor design, or for that matter over design. |
 |

