If you can't find that
setting, look through the various BIOS settings for anything pertaining to USB
devices, including DOS support and removable drives. Depending on your BIOS
version you may want to look in the 'feature settings' or 'advanced setup'
sections.
If you
can't find anything relevant, your computer probably does not currently support
this feature. All may not be lost though. The manufacturer may have added this
feature with a BIOS update to your board. To check this, visit your motherboard
manufacturer's website and look for newer BIOS versions for your motherboard
model. For more information on finding the exact make and model of your system's
motherboard, as well as downloading and upgrading your motherboard with new BIOS
files, see our guide on the topic.
Once you have set your
motherboard to boot from the USB drive, it's time to make the drive itself
bootable. 
Ironically, the easiest way to
do this is by using a floppy disk. If you have a floppy drive on your system,
insert a blank disk and double click on 'my computer.' Right click the floppy
drive and choose 'format.' Make sure the 'create a bootable system disk' option
is checked. This will add the system files you need on your USB drive to the
floppy. Click 'ok' to format the disk.
When the formatting process is
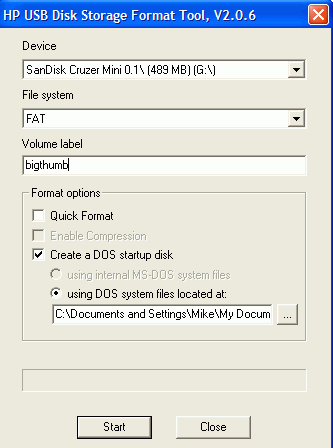
finished, download the HP USB disk storage tool
from
here and install it. It is intended for HP
removable drives, but we've found that it works just fine on every USB drive we
tried. Using this software and the system files now contained on your floppy
disk, you can make your USB drive bootable.

