The Healing Brush is the most publicized feature of this
new version of Photoshop, and for good reason. This tool is intended to
speed up photo editing work by allowing users to patch imperfections in their
images while retaining the lighting and texture attributes of
the original
image.
In previous versions of
Photoshop, the clone stamp tool could be used to sample part of an image and
patch over imperfections, but it was limited by the fact that it reproduced an exact copy of the sampled part of the image,
not taking into account lighting and texture differences in the target area of
the image. This often meant that the patches produced by the clone stamp tool
needed to be manually blended into the rest of the
picture.
The healing brush tool seeks to improve
upon this process by automatically adjusting the 'patch' it creates to
match its surroundings. The effect can be applied either with a brush or a patch using the lasso tool. With the
brush, you select a source point, then click and drag to apply the patch
from the source point to the target area. When you take your finger off the
button, the 'healing' effect is applied, matching the target's texture and
lighting.
|
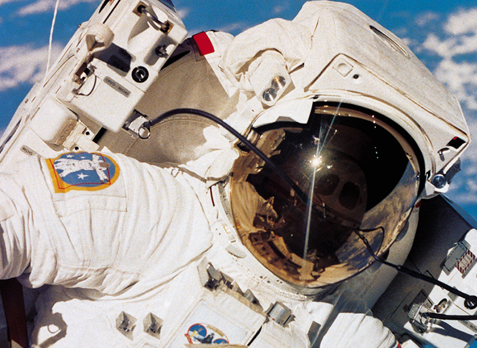
Original image before the Healing Brush
is applied |
 |
|
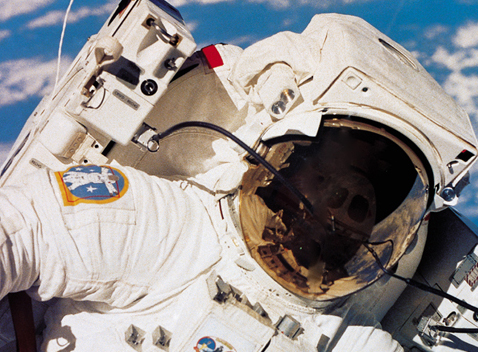
Modified image after the Healing Brush
is applied (below)
|
 |
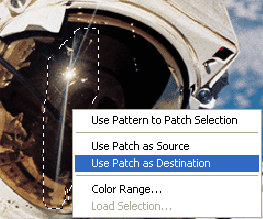
The patch healing tool uses the lasso to select a target
area. You can then drag this area onto the section of the image you wish to use
as a source. You can also use Photoshop's other selection tools, like the magic
wand, to select the target
area.

When
used for its intended applications (such as removing
small blemishes from faces) the healing brush
effect is really quite magical. It reduces the
task of eliminating small imperfections to something almost trivial. For hardcore photo editors,
this feature alone almost surely justifies the purchase of Photoshop
7.0.
The one limitation of the healing brush and patch
tools is the apparent inability to have a source and target of different
sizes. You cannot, for example, select a smaller source area
and use it to patch a larger target area. The ratio between the source and target areas
must always be 1:1. This should not be much of an issue when
editing small blemishes and features out of a picture (which is this tool's primary
use), but could be annoying for larger products or very complex
images.
