Since there is a lot packed into such a little package,
we're going to flip through the photos' of the AOpen Mini PC MP-915B pretty fast
before bringing you to the benchmark section.
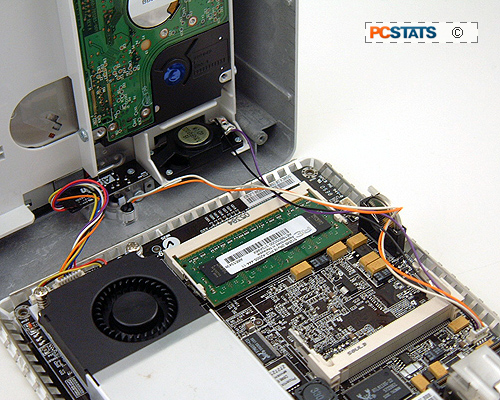
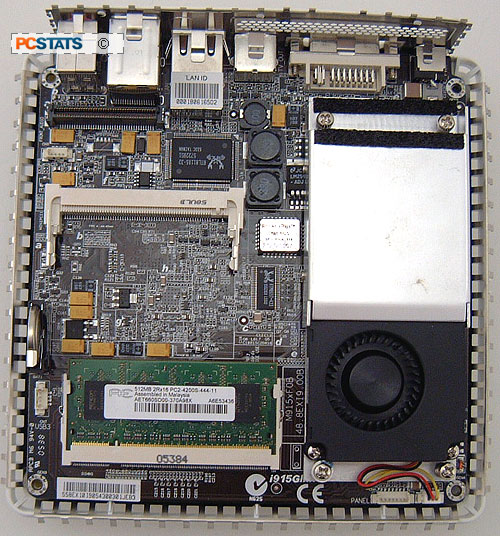
Undo the four screws at the base of the Aopen MiniPC
MP-915B computer to gain access to the interior. Disconnect all the wires
before installing any of the components.
|
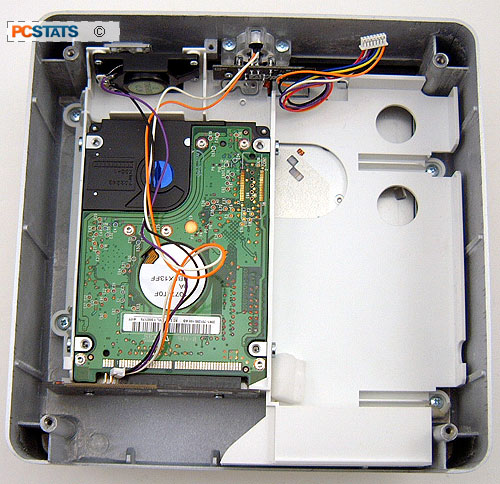
Remove the white plastic cage from the aluminum top
and install the IDE connector onto the DVD/RW and hard drive. All data
connections are made with the motherboard through this edge connector, so
no wires!
 |
Installing the hard drive is not hard, first disconnect
the LED, power and speaker cables from the motherboard. Unscrew the white shell
from the aluminum top, then slide the IDE hard drive into the appropriate bay
and screw it in. Note, Serial ATA 2.5 hard drives are not supported by the AOpen Mini PC MP915-B series.
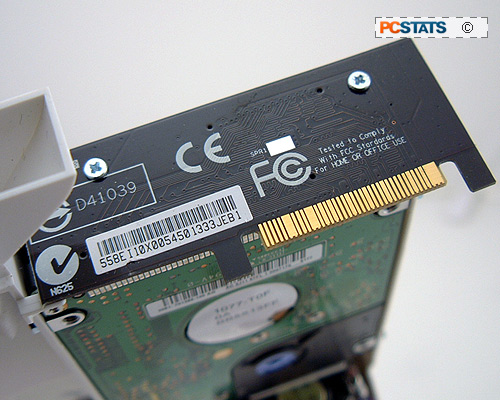
The connector works
with IDE 2.5" hard drives only, SATA laptop drives are not supported in
this computer. |
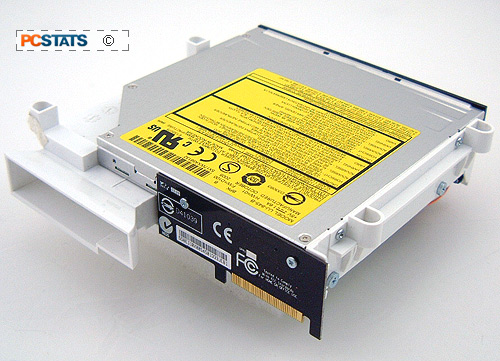
After the HDD has been secured, place the DVD/HDD
connecting module on. It will insert itself into the black card edge connector
that sits behind the USB ports/audio jacks. After the connector card has been
installed, it is time to mount the white plastic shell back into the aluminum
top. Don't forget to put the white foam back into the right position.
