|
Photo Walkthrough - CPU Heatsink
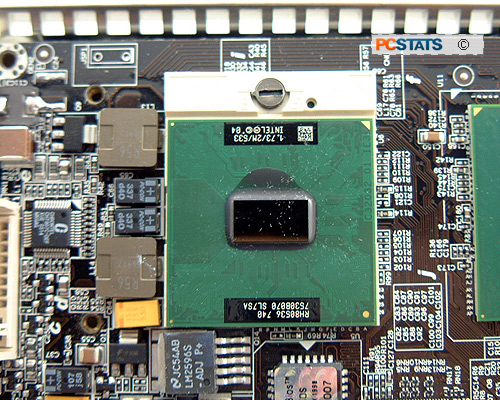
Note the CPU socket is ZIF (Zero Insertion Force) and if
you encounter any resistance installing or removing a 479-pin Intel Pentium M
processor, make sure the socket is "unlocked." If you try to force the processor
into the socket you will potentially damage both the CPU socket and
processor!
|

Insert the 479-pin Intel Pentium M processor into the
ZIF socket and turn the little metal lock (it looks like a screw head) 180
degrees counter clockwise. For PCSTATS tests, we're going with a Pentium M
740 CPU. heatsink.
 |
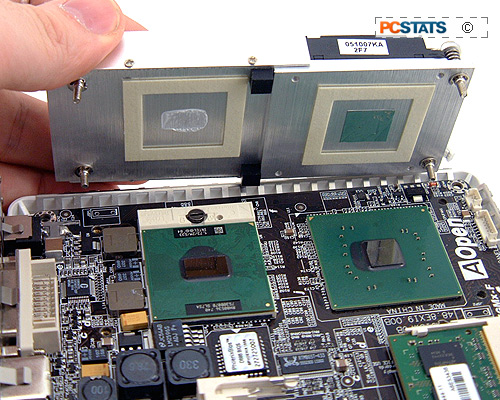
Reposition the heatsink and tension all four screws in a
criss cross a little bit at a time. This will ensure the heatsink is secured
evenly on the chips below. Apply a small amount of thermal compound to the
processor core (none to the northbridge) and get ready to re-attach the
CPU/chipset.
|
experts tip: exhaust towards the
rear |
|
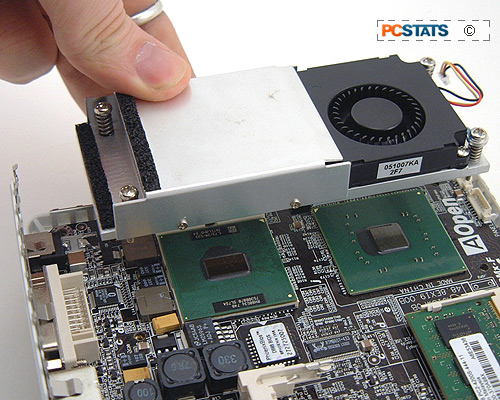
after installing the cpu in the socket, it is vital
to orient the cpu/chipset heatsink in the right direction since it is
possible to mount it backwards. the squirrel cage fan should always be
mounted above the chipset and closer to the front of the case. the exhaust
section with the two foam pads will always be near the back. the
possibility of physical damage if mounting the heatsink on wrong are real
and it is possible to crush the cpu core. after mounting the heatsink back
on, don't forget to plug in the three pin fan connector.

|
| Comments and Feedback? Suggest a
Tweak. |
|
|
|
|
