Taking off the glossy white aluminum cover of the MSI
MEGA mPC 945 is as easy as removing three thumb screws. The screws are attached
to the panel itself (captive screws) so there's no way they can get lost either.
Once the one-piece aluminum shell is removed, you'll be greeted by the 5.25"
drive cage.
|
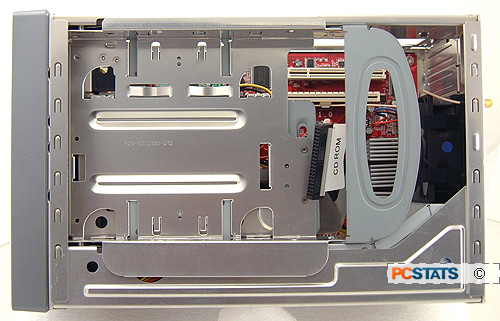
The top
view illustrates how drive space and the power supply are arranged in the
mPC 945 small form factor case. MSI has a few well placed cable clips to
keep the general space clear and organized. The 260W power supply is set
up along the side of the case, which makes good use of space and allows a
large exhaust fan to be placed at the rear of the chassis. Both 5.25" and
3.5" drives are mounted to the tray with tool free clips, and indeed the
handle at right allows easy access to them as the whole assembly flips up.
|
MSI does its best to keep things simple and tool free.
The aluminum drive bay caddy is removed by simply pulling up on the handle. Once
it's at its highest position, pull out the little black lever to lock the cage
in the upright position so you can begin working in the case.
|
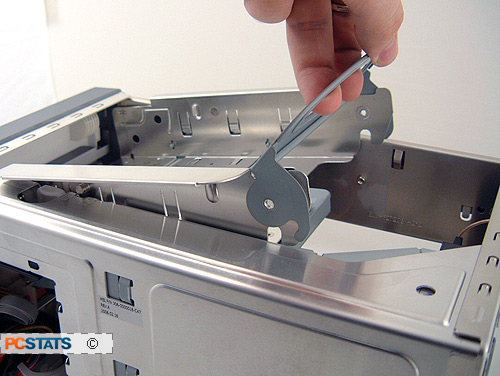
Pull up on
the handle to release the drive caddy from the
chassis.
|
|
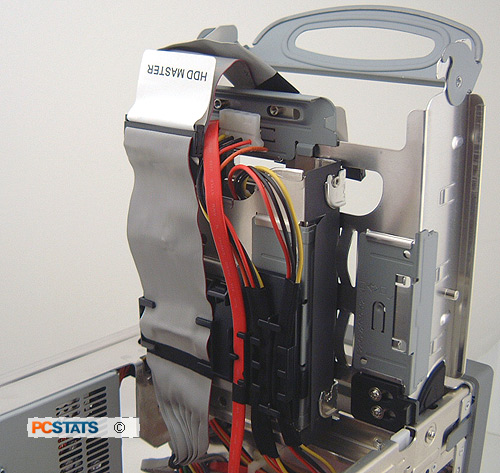
All the
data and power cables are pre-routed to the rear edge of the 5.25" and
3.5" drive caddy. Drives are installed without tools, and are held in
place with integrated clips. Pull up on the recessed white tab on either
side of the drive caddy, and the entire assembly removes from the chassis
(lower right).
|
|
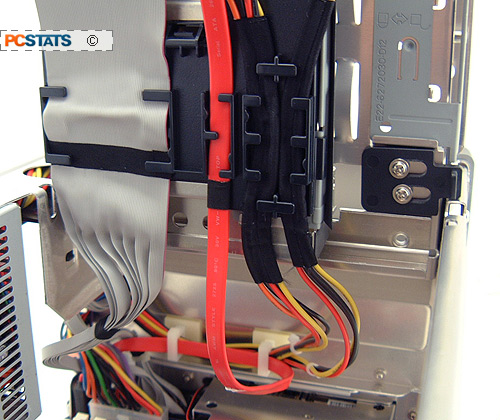
Pull the
black tab out to lock the drive caddy in its upright position so you can
work on the system without things coming crashing down. MSI recommends
installing a flat bezel optical drive in the mPC 945
system.
|
To install the 5.25" or 3.5" drives, you'll first need
remove the black plastic cable organizer. Pull up the white tabs on the
chassis's frame and the entire aluminum cage will come free as well.
|
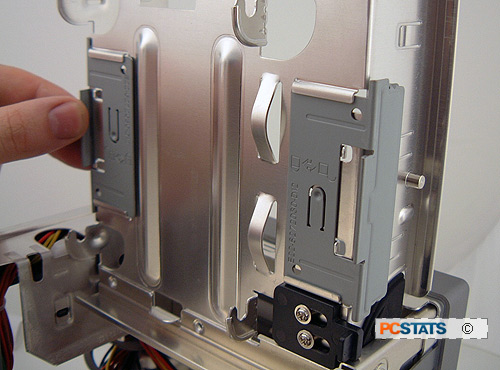
These tabs
are used to lock the optical drive in place once it is installed. Similar
clips on the underside of the hard drive caddy keep the Mega mPC 945 small
formfactor system surprisingly tool free to work
with.
|
Once the cable organizer has been removed you can slide
the CDROM in and engage the locks that hold it in place - it's nice not to have
to use screws. Slide the hard drive lock to the release position and pop drive
cage off. Undo the HDD locks and the drive slides right in. Installing or
removing the optical drive works the same way.
