PCSTATS will assume you have a socket LGA2011
motherboard and processor at hand, both still in their boxes. For this Beginners
Guide we'll be using an Intel Core i7 3820 processor and a Gigabyte GA-X79-UD5 motherboard .
Step 1: Remove the
socket LGA2011 motherboard from its box and protective
packaging. Place the antistatic bag or foam mat under the motherboard
to protect it, then place both on a table with good light so you can get to
work.
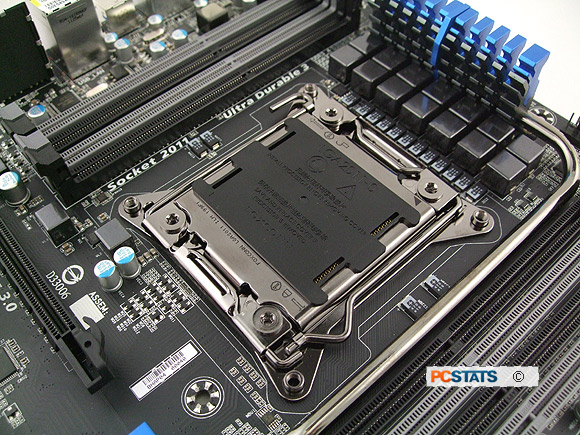
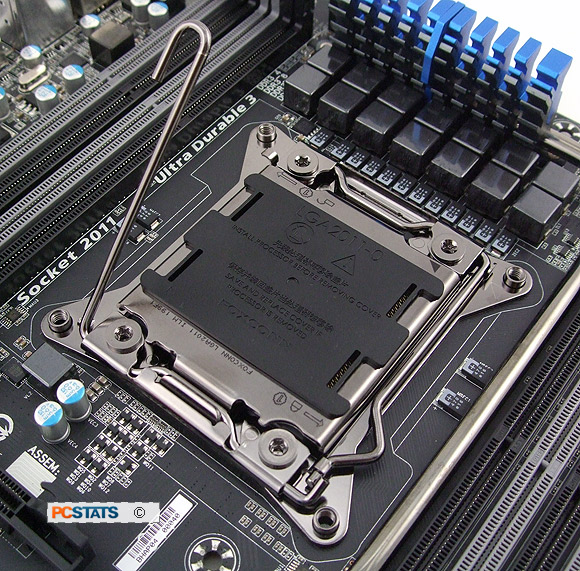
First thing's first, open the CPU socket. To do this, press down on the metal lever arm marked with a (1) and
an unlocked lock symbol (we'll call this the first
lever arm from now on), then pull it away from the socket to release
the catch. (see below).
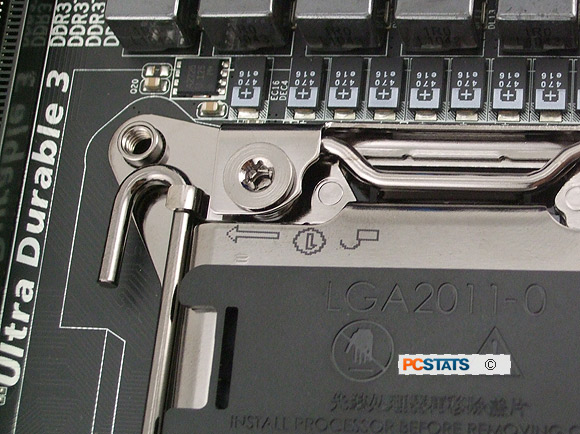
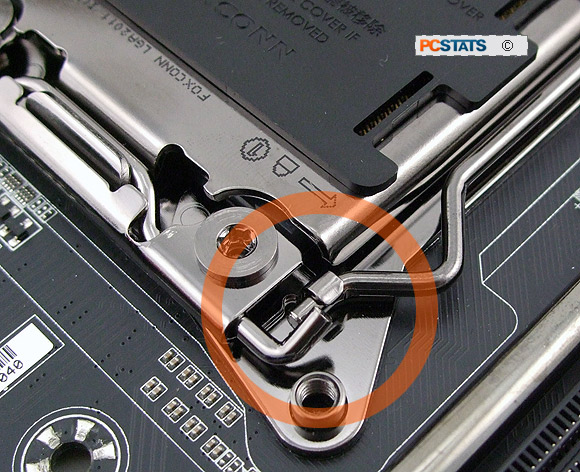
Release this lever
arm first.
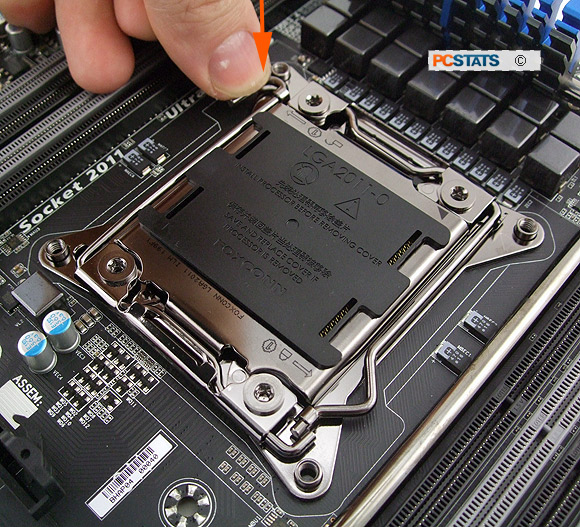
There are two metal lever arms on the LGA2011 socket, the second metal
lever arm is in the opposite corner and cannot be unclipped first.
The second lever arm is marked with a (1) and a locked lock symbol. (see
below)
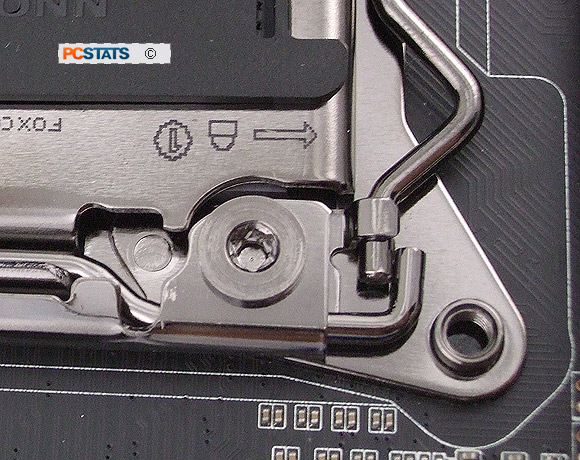
(The second lever arm. This catch
cannot be released first...)
After the first metal lever arm is released, the second can be
unclipped.
Un clip the second metal lever arm now, by pressing down
and pulling it away from the socket to release the catch.

