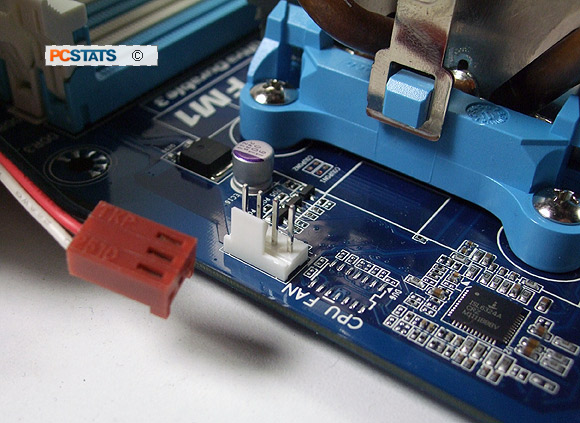
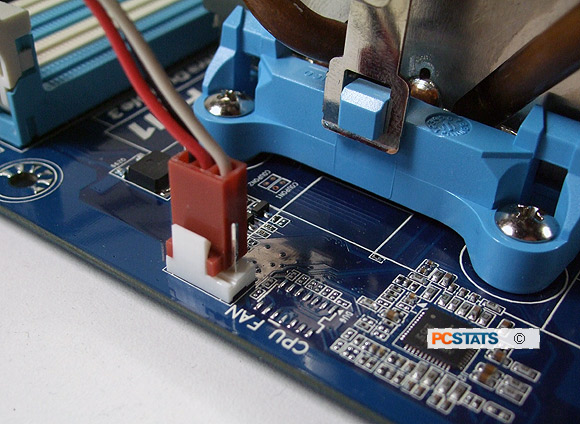
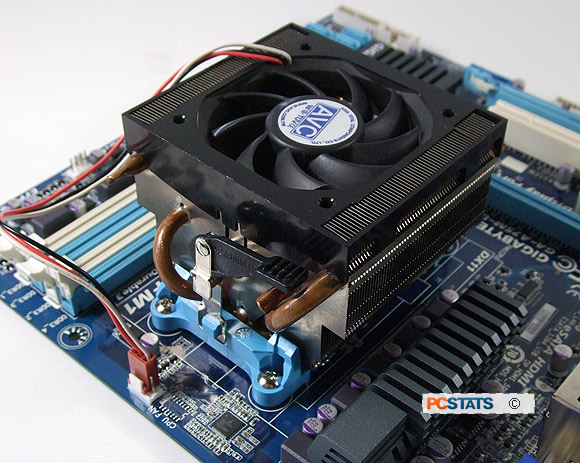
Step 6: Find the motherboard fan header labelled
CPU_FAN and connect the power connector from the heatsink fan to it. A
'fan header' is simply the male electrical pins and plastic bracket that hold the female
fan cable connector in place on a motherboard.
Older 3-pin style fan power cables are compatible with newer four-pin PWM style
fan power headers. The header is keyed so the 3-pin or 4-pin fan cable from
your heatsink fan will only install one way.

If your heatsink fan has a 3-pin fan power cable and
this leaves 1-pin remaining on the motherboard fan header, don't worry about it.
With the older style of fan power cable that extra pin (the PWM-signal pin)
isn't needed.

Consult your motherboard manual if you are unsure of the
location of the CPU fan header. Ensure that the cable cannot become snagged in the fan blades and that no other power cords are obstructing the fan
blades from freely rotating either. Your processor and heatsink are now correctly installed.
Hook up the rest of your AMD Fusion socket FM1 computer system and try
it out!

If you need to remove
or upgrade the AMD socket FM1 processor, that procedure is covered next in
this PCSTATS DIY Guide...

