AMD made several noteworthy accomplishments with its socket FM1 'Llano' processor, the most important
being the integration of a graphics core directly onto a CPU
die which substantially reduced motherboard complexity.
Major architectural changes were also
brought forth by AMD's
Fusion family of processors, yet like the socket
AM2/AM2+/AM3 processors that preceded it AMD kept the socket and heatsink mounting system totally
compatible.
Installing
a socket FM1 AMD A8-series processor into a motherboard is not too difficult, unless you've
never done anything like this before and in that case a little guidance is
called for.
Below every AMD CPU are fragile little gold pins that must engage
with the socket in the right way, they must not be touched, gotten wet
or fed after midnight...
Here at PCSTATS we've had our share of troubles with
computer hardware and received a good deal of questions from readers who aren't
entirely confident they can install an AMD CPU into a fresh
motherboard, or upgrade an older socket FM1 processor to a newer, faster
model. We thought we'd run off a quick Beginners Guide illustrating
the procedure for installing a socket FM1 AMD processor for the
benefit of our readers. If you are planning on building a AMD based computer
anytime soon, bookmark this PCSTATS Beginners Guide.
AMD FM1 Processor and Socket

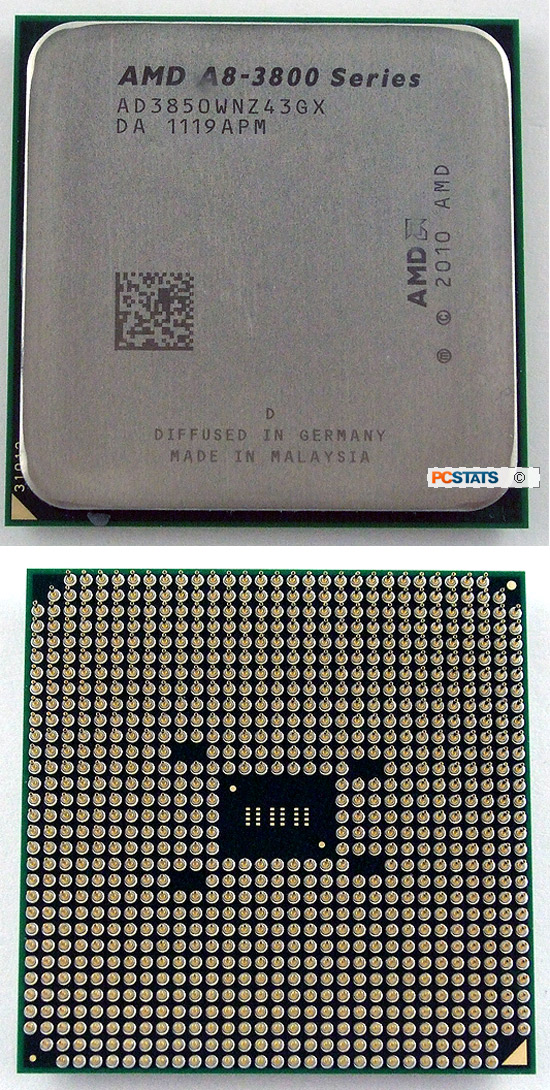
AMD socket FM1 processors have 905 little gold pins on
the underside of the processor which make electrical contact with
an equal number of mating pin-holes in the processor socket. When handling a processor it's
a good rule of them to never touch the electrical pins.
These pins can be damaged by the oils on your fingers,
bent out of shape or broken off by careless handling. In very rare circumstances,
a static electric charge may fry the integrated circuit at the heart of the processor package.

The correct way to hold a processor is by the edges of the PCB so your
fingers do not touch the delicate gold pins. Incidently, this is also the proper way to
hold a Printed Circuit Board (PCB). Occasionally, motherboard and videocard capacitors will continue to maintain a charge long after the device is de-energized - the PCB is non-conductive so it
can save you from a potentially nasty shock.
Generally speaking it's best to leave the CPU in its protective carrier until the
moment you're ready to install it. Otherwise place the CPU on bit of antistatic foam or a clean sheet of paper until you're ready to
install the chip into the motherboard socket.

As you proceed through this DIY Guide, remember that it's extremely important the processor be installed slowly, carefully
and vertically into the socket, and removed the same way. Any careless
handling will damage the electrical pins and may leave you with a useless high tech
paperweight.
PCSTATS will now describe the step by step process of
installing an AMD 'Llano' socket FM1 processor correctly into a socket FM1 motherboard. It's not the hardest thing in
the world, but it pays to be careful and follow a predetermined set of steps if you've never attempted
anything like this before. There are one or two tricks to getting chip into and out of the CPU socket without damaging anything. Let's begin...

