Now we need to move the Windows XP install CD and all its files and folders onto your PCs hard drive so we can
update them.
Place the WinXP install CD in your CD drive and
using Windows Explorer, navigate to the drive. Highlight all files and folders, right click and select 'copy.'
Now navigate to your 'D:/XPCD' directory, right click and hit
'paste.' Wait the few minutes it will take while the contents
of the WindowsXP install CD are copied into the directory on your hard
drive.
Step 5: Updating the 'D:/XPCD' directory with
Windows XP Service Pack 2
In this step, we run the 'update' command built into each service pack with the
'integrate' switch, which will merge our Service Pack 2 files with the WinXP install CD
files and folders we copied onto our hard drive in the last step.
Now we need to update the XP files in the 'D:/XPCD' directory with our newly extracted Service
Pack 2 files. Open a command prompt by going to 'Start /
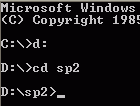
Run' and typing 'CMD.' Navigate to the 'D:/SP2' directory by first changing
drives if necessary ('D:/,' 'E:/', etc.), then typing 'CD SP2'

While still at the command prompt, type 'CD i386\update' to enter that directory.

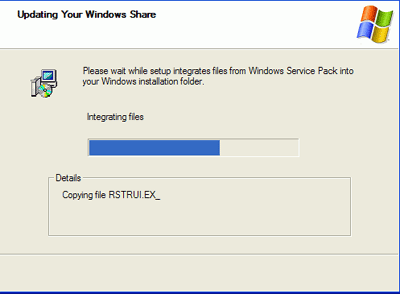
Type 'update /S:(yourdrivename):\XPCD' and hit enter to begin the update
process. A window will come up and detail the install procedure.


