It's
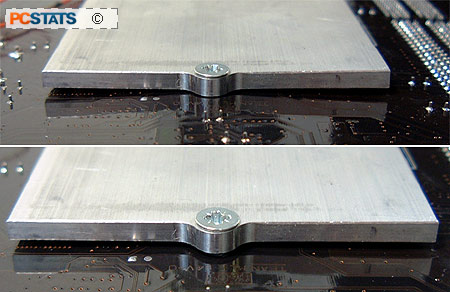
important to align the top CPU mounting kit properly, as
it will only go one way correctly. The stainless steel clip that
fits into the front plastic mounting frame is asymmetrical, so the outermost stand must always either point
to the back or bottom of the case (see below) as the instructions will remind
you.

If you haven't guessed, seal string is a vital
component that we need yet again to mount the evaporator head onto the
motherboard. First though, we apply a very thin layer of Arctic Alumina
thermal paste to the processor heat spreader. Arctic Alumina is pretty
good compound, and will not freeze up completely.

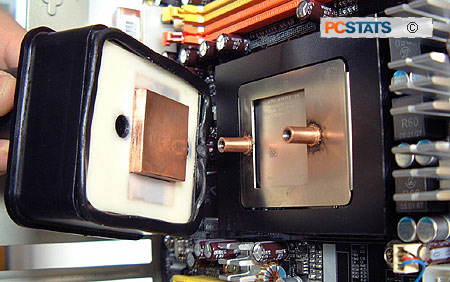
Place some seal string around the
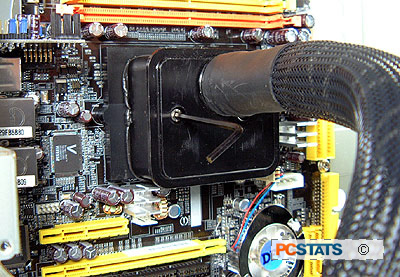
perimeter of the evaporator head (see above), then position the head onto the
front CPU socket plate. Screw the unit in through the two holes, then place
two globs of seal string over the screw holes to seal them up. The entire
cell should now be air tight, which will reduce issues of frost and condensation
due to the low temperature of the cooling head. Be careful not to tighten the fixture too
much, doing so will cause the motherboard to warp.

While the
above procedures sound like a
lot of work, they are actually quite easy as long as you follow the instructions. As PCSTATS' staffer
will testify, having used both the Prometeia and Vapochill
brand phase-change coolers, the ECT way works best in the long
run. Some other products involve gunking up the motherboard and processor
with messy silicon/dielectric grease to maintain control of
condensation.
 The seal string itself is basically a black
mastic-like material, sort of along the lines of material used with
double-pane windows. It is sticky, and must be applied to a dust-free surface in
order to work. Yet, while it sticks to just about anything, it's pretty easy to remove from
the motherboard. If there are trace amounts of seal string left on the PCB, simply
stick a bit more onto those spots, then pull it off. You'll find that seal
string clumps together.
Once all
the hardware has been installed, there
are a few power and data cables to attach. First and foremost is the two
pin rear Kapton heater power cable; without that, the back of the motherboard
could possibly freeze up. Next are the power connectors and finally the molex
connection. The computer PSU doesn't actually supply power to the Mach II GT. It's
simply there to detect system power, which allows the cooling system to turn
on.
The
computer power on case switch connects to the Prometeia, so that when you press
the power button on the PC it first turns the Mach II GT on to pre-cool.
When the Mach II GT reaches
its "booting temperature" (-33C by default) the cooler then turns on the computer system. All of
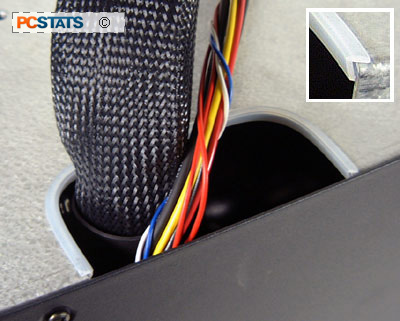
these cables we've just described go up alongside the cold head arm into the computer
above, so from the outside nothing is visible.
