Now that
we've covered the basic parts that make up the Prometeia Mach II GT, let's have
a look at how it installs onto a processor, and then do a little overclocking!
In order for the cold head
(evaporator) from the Prometeia Mach II GT to attach to the processor and
socket, the appropriate CPU platform kit must be used. A socket 939/940/754
AMD Athlon64 mounting kit will not work with Socket 775/478 Pentium 4
processors, because the retention bracket style is completely different, as are
the mounting holes in the motherboard PCB. As the Prometeia Mach II GT does not
come with a universal style mounting bracket
that works for every processor, consumers must specify which CPU bracket they want when
ordering. Socket kits are also sold separately if needed. The unit PCSTATS tested came
with the socket 940/939/754 mount, since we intend to test this phase change cooler out with an
AMD Athlon64 4000+ processor.


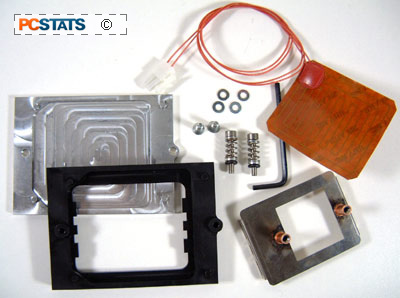
The socket mounting kit is quite
simple; it consists of a machined aluminum back plate, a flat Kapton heater, a
UHMW plastic front plate with stainless steel cooler mount, a tube of Arctic Alumina thermal paste, some
screws and one roll of seal string. While it might look a bit overwhelming at
first, it's actually an extremely easy system to set up.
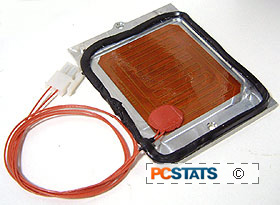
Following the instructions, the first task is
to place the Kapton heater on the aluminum back plate (adhesive side to the
aluminum). When installed, the Kapton heater rests between the aluminum
plate and the bottom of the motherboard PCB. While it might seem
counter-productive to increase the heat load in the region just below the
processor, the purpose of this heater is to stop the PCB from dropping below the
dew-point temperature. If that were to happen, condensation would begin to
form and then there would be the potential for an electrical
short.


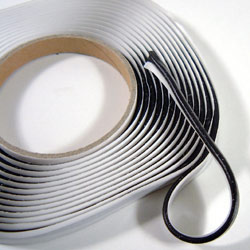
The next step is to place seal
string around the perimeter of the aluminum back plate. This helps create an air
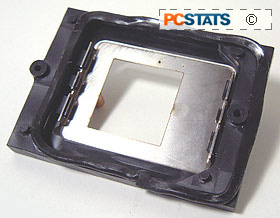
tight seal on the back of the motherboard opposite the CPU socket. The same
procedure with seal string is done for the base of the front plastic mounting
plate, and then both are ready to be installed. If the motherboard has a
processor retention socket and backplate already, they both must be removed
first. Then, with the Athlon64 processor already installed into the socket, the
aluminum back plate and front plastic mounting plate for the Prometeia are
installed, and screwed together.

