The Prometeia Mach II GT comes assembled, but without the
front panel LED display attached. Installing the display is not difficult
but you have to remove the
front bezel and left side panel first. To take the
front off, you must first pull the top of the bezel towards you then slide it upwards.
To take off the side panel, remove the four screws and then pull firmly outwards.
The side panel is secured with double sided tape as well, so you might have to pull with
quite a bit of force - but be careful not to bend the panel in the
process.
Once the panels
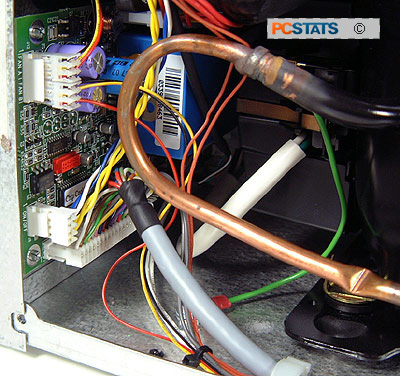
are off, connect the cable to the bottom of the chill control PCB (it only goes in
one way) and connect the other side to the LCD.

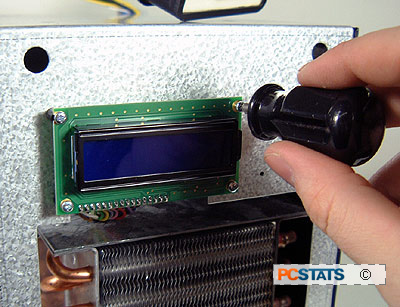
The LCD screws into place with four screws, and it's pretty
secure. When moving the Prometeia though, ECT recommends that you take the LCD off so it doesn't sustain
any damage during transportation. There are different screws to accommodate different style case
fronts (Enlight or Lian Li), which is why this one part is user
installed.

The LCD screen can display a whole slew of information; from processor speed to evaporator
temperature and even system load. It connects to the PC via an internal
USB cable, so that from within Windows the display can also
be customized to show pretty much whatever you'd like with the Control Centre software.
We'll take a look at the software in detail a bit later in the
review.
