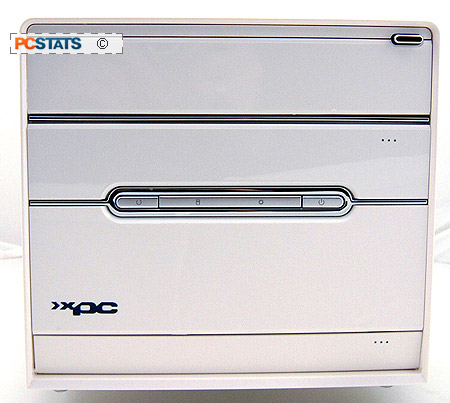
The front of the Shuttle XPC SD11G5 case is very
clean and users who do not like a lot of fuss will appreciate the
clean lines. The silver button at the top right controls the optical
drive eject button. The sensitivity of the button can be adjusted on the inside
by sliding over a little tab so that it aligns with the eject button of the
CD-ROM drive. Be sure to make
the necessary adjustments before installing the optical drive
though.

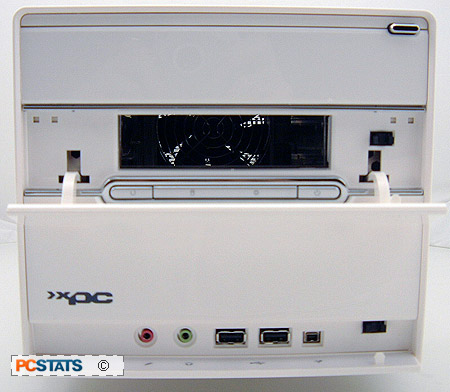
Pressing the three dots on the middle flap exposes
the open 3-1/2" drive bay, which is intended to be used with other
Shuttle accessories like a memory
card reader (the XPC SD11G5 does not support a
FDD).

The middle
grey bar has two buttons on opposite sides, one for power and the other for resetting
the computer. There are two LEDs in the middle section which show when the
computer has power and HDD activity. Opening up the bottom flap on
the front bezel exposes the front panel media connections. Starting from left we have the mic/headphone jacks, two USB ports
and a miniature IEEE 1394a Firewire 400 connector.

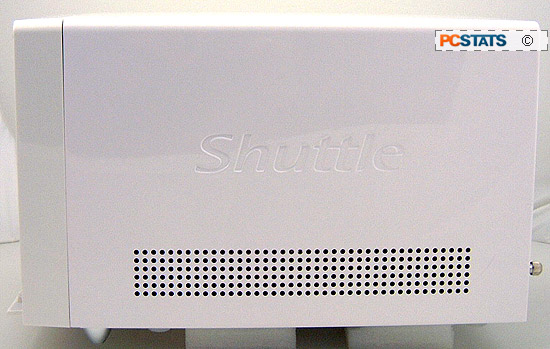
The sides of the Shuttle XPC SD11G5
are entirely plain, there is the Shuttle name indented into the side panel as
well as ventilation holes. The shell and front bezel are a very slightly different shade of
white.
