The Intel Pentium M processor uses the FCPGA form factor and installs via a
Zero Insertion Force (ZIF) 479 socket. To install the processor, a user first needs to make
sure the CPU lock is set to open, then gently place the processor into the
socket. If there is any resistance, then there is something wrong, take out the
processor and repeat the process making sure its pins are aligned properly.
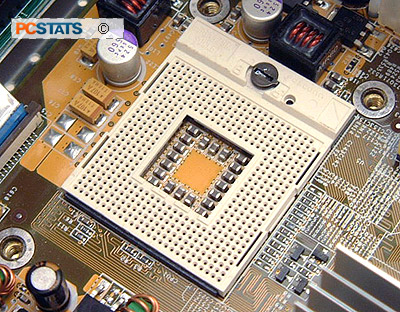
Once the Pentium M processor has been seated
fully, turn the lock clockwise, you might feel some resistance near the half
way point but that is normal.
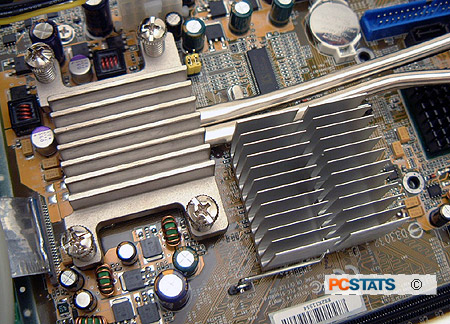
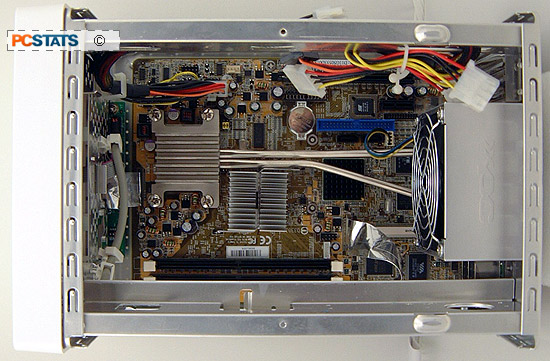
Installing the custom Shuttle ICE heatsink is very simple
and can be done without tools. Shuttle supplies white silicon
thermal paste in the kit, and recommends the heatsink be torqued down by
adjusting the screws in criss cross pattern so that the pressure is distributed
evenly.
When installing the heatsink, use a bit of
caution since the heatpipes are fragile and can bend easily. After the CPU
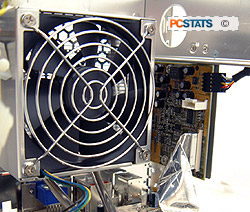
heatsink has been secured, slide the fan shroud down over top of the aluminum radiator.
It might seem like a tight squeeze, but Shuttle designed the setup so it will slide over. There
is tape along the edge of the aluminum radiator to keep the fins in position and prevent rattling
sounds. Little rubber washers where the shroud attaches to the frame keep transient noises down as
well.
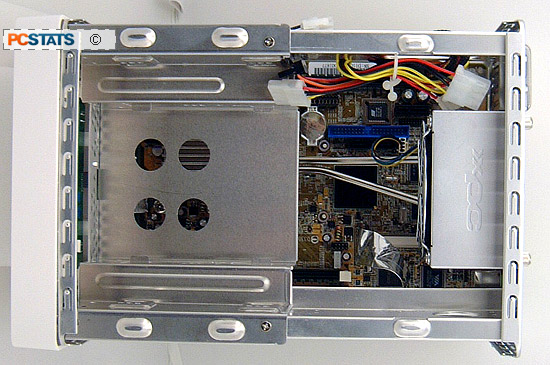
With the shroud in place, it need only be secured with the
four thumb screws at the back of the case. Don't forget to re-connect the four pin fan power
cable to the motherboard fan header too. After that, the drives can be installed on the
drive rack and it placed back into position within the chassis (as seen below, but
empty).
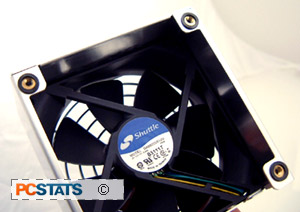
During
operation, the 92mm temperature controlled Shuttle fan is very quiet because it spins only as
fast as necessary to keep the processor running at a comfortable temperature. The features Shuttle
has built into its XPC SD11G5 small form factor PC all add up to one pleasantly silent
package.