Installing a socket LGA1156 Intel Core i3/i5/i7 processor into
a fresh motherboard as part of a new PC build can be intimidating step,
particularly if you've never worked inside a computer before. PCSTATS
received a few
emails from novice readers on this subject, so we thought it worthwhile to lay out the steps for you in this
Beginners Guide. Once you know what not to touch and which way the CPU goes,
it's really not difficult. Best of all, when it comes time upgrade your CPU with
a faster model, you can extend the lifespan of the PC and save yourself a few bucks in the process
too!
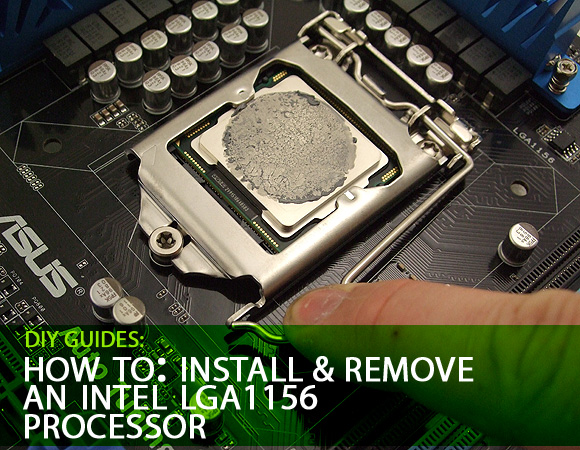
In this PCSTATS Beginners Guide we'll show
you how to install and remove a socket LGA1156 Intel processor and
heatsink, step by step. If you've been considering a computer upgrade, bookmark this article for future
reference.
A few words of caution before we start. Computer processors are sensitive electronic devices.
1) Always make sure the power is off, computer is unplugged before opening it up. 2) Never touch the
gold connector pads on the bottom of the CPU and always be extremely
careful when inserting the processor into the CPU socket. 3) Don't touch the
delicate gold pins in the socket, they bend easily and can also be damaged by the oils from
your skin. 4) Always ground yourself to a metal object before doing any work inside
a computer system to minimize the risk of an
electrostatic discharge.
Intel's LGA1156
Processor
First let's familiarize ourselves with the Intel processor.
On the top of
the processor you'll find a silvery looking metal lid called the 'Integrated Heat Spreader' (IHS) and a small gold triangle in one corner. The
green substrate has two small notches on opposite edges which key the CPU into
the socket in one direction only. Processor make model numbers are laser engraved on the IHS.
Intel does not specifically state on the CPU if the
processor is for socket LGA1150, LGA1155 or LGA1156, this information is
printed on the box the CPU is sold in. If the chip does not fit, double
check its model number on Intel.com
to ensure you are installing the CPU into the correct motherboard socket.
|
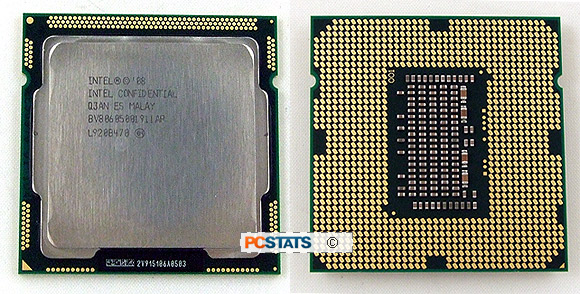
Top and bottom view of an Intel LGA1156
processor.
|
On the bottom of the socket LGA1156 Intel processor we are working with in this PCSTATS Beginners Guide you'll find one thousand,
one hundred and fifty-six gold pads, in the center are tiny electrical components. The gold pads on the base of the CPU make contact with corresponding
electrical pins in the processor socket on the motherboard. Oils from your fingers can
damage these golden electrical contacts, so the proper way to handle the CPU is by the edges only.
In general, it's best practice to leave the processor in its plastic, protective chip carrier until the moment you are ready
to install the CPU into the socket.
Heatsink for Socket
LGA1156
CPU heatsinks come in all different shapes and sizes,
some are made for Intel or AMD processors, some for both. Aside from
thermal solution performance criteria, what separates different heatsinks is
socket compatibility.
For the purposes of this DIY Guide, PCSTATS will be
installing Intel's reference stock LGA1156 CPU cooler. For 80% of users this
heatsink is probably fine. If you overclock, are a performance user or demand
super quiet operation, then you'll need to visit Frostytech.com
and have a look through their Top 5
heatsink charts and find the best CPU cooler your budget will
afford.
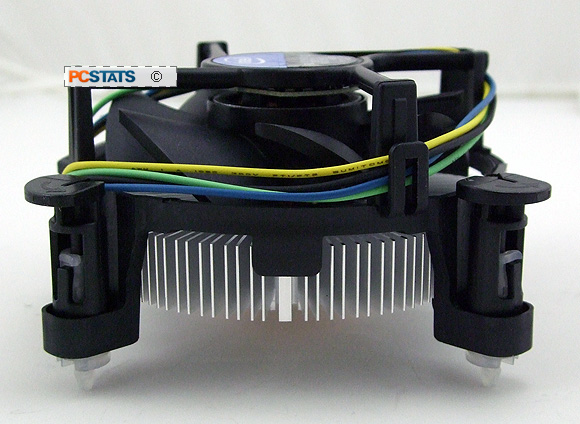
This Intel reference heatsink comes with thermal
compound pre-applied on the bottom.
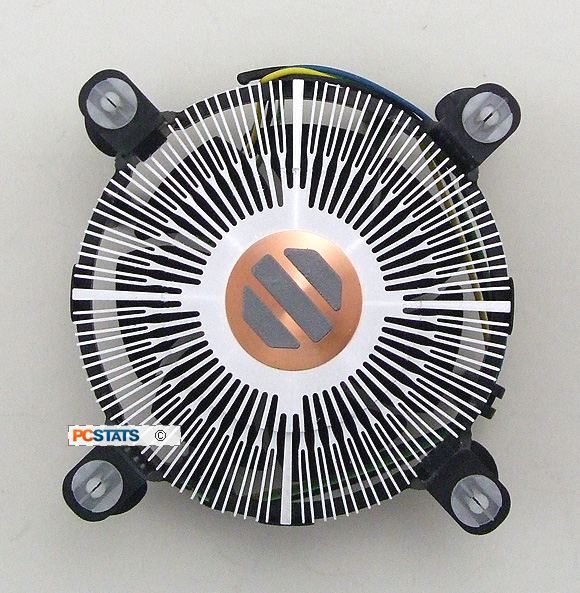
Mounting brackets for Intel heatsinks are nice and simple; four plastic push-to-click retention
posts are used which engage with four holes, spaced 75mm apart,
around the LGA1156 CPU socket.
Motherboard LGA1156
Socket
On socket LGA1156 motherboards
there is a Land Grid Array 1156-pin processor socket which the processor is mounted
into. The socket consists of three parts; a top metal pressure plate, a metal
lever arm and the bottom electrical socket which is a complex array of tiny
gold pins that contact the base of the CPU.
The LGA1156 socket is shown below with its
protective plastic cover removed and top metal pressure plate opened up so you can see
the gold pins which interface with the CPU base.
|
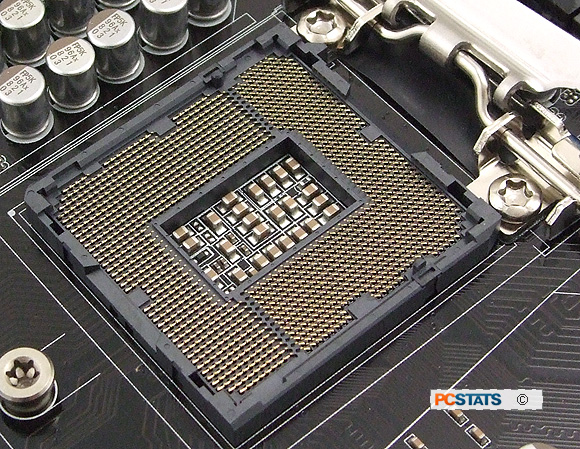
LGA1156
CPU Socket with the protective cover removed. The tiny gold pins are very delicate, never
touch them.
|
A
protective plastic cover normally sits over these pins when no processor is present, remove
the cover just before the CPU is installed as these pins are extremely
fragile and easily damaged.
Now that we're familiar with the major parts of the
CPU socket and processor, let's
run through the process of installing an Intel socket LGA1156 processor and heatsink correctly. Later in this Guide, PCSTATS will cover how to remove the heatsink and
CPU.
Installing the Intel
chip...