Now let's take a look at the
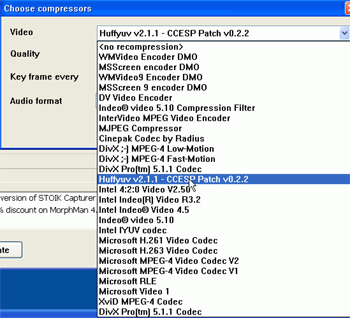
options available for compression. Click the 'compression…' button. The default
compression method is 'no recompression' meaning no compression will be used,
and the resulting file size is going to be enormous. Click the 'video' drop down
box to see the list of compression codecs available to you.

You should have a large and impressive looking list
of options. What you want to use here depends on what type of video
you want to capture, how much you are going to capture and well,
trial and error. For now, select the 'huffyuv' codec.
This is a lossless codec, which compresses video
only a little. Good for home movies that you want to edit, good for copying
videotapes to DVDs, bad for storing large amounts of video on your drive or
putting movies onto CD.
You can hit the 'tune…' button
to change options for the codec you have selected. For now, leave everything as
default. The 'multifile split' dropdown
box sets how large the program will allow each individual capture file to be.
When the maximum is reached, it creates a new file and continues recording. Set
this to your desired size.
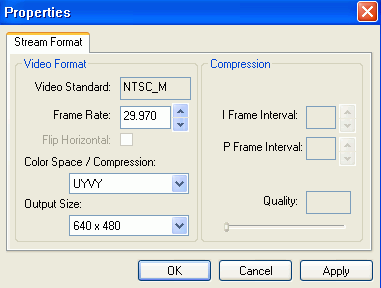
If you would like to change
the resolution of the captured video, hit 'tune…' on the main screen and select
'video capture format.'

You can choose the final
resolution of the video file here. Note that the default is 640x480. Higher
resolution files demand more performance from both the hard disk and the
processor.
Now it's time to capture some
video. Hit the 'record' button to begin. Note the time and frame counters. Hit
'finish' when you have captured enough, then navigate to the capture file
directory to check out your work.

