The next thing we should look at is the 'software' tab. This section
determines the various software 'packages' that will be added to SUSE Linux
during the installation process. The default screen shows only the
packages that are currently selected and will be added. To change this,
switch the 'filter' dropdown box to 'package groups'. This shows you the
various types of software available on the SUSE Personal CD. Anything with
a checkmark will be installed. You can browse through, using the windows
on the right side to get details about particular software.
We're going to stick with the defaults here for now,
though you might wish to add the Firefox web
browser if you are attached to it in the Windows
world. To do this, expand 'productivity' then 'networking' and place a
check next to 'MozillaFirefox'.
The only other thing you might want to consider adding
is PCMCIA support if you are installing SUSE on a laptop computer, since it
is not present by default. This can be found at 'hardware\other\PCMCIA'. Click 'accept' to
get back to the main installer window.
Setting the correct time and date
This is an easy one. Click on 'time zone' and choose the correct time
zone, time and date settings, then 'accept'.
Beginning the installation
From the main installation window, click 'accept' to begin the next stage of
the process.
The system files will begin copying to your hard drive(s). Sit back and
relax, or get a cup of coffee. Once the file copying process finishes,
your system will reboot and you'll be treated to your first glimpse of the boot
loader. This screen will come up each time you boot your machine, and
allow you to choose between Linux and the various other operating systems you
may have installed on your computer.
Allow Linux to load, and the installation process will continue.
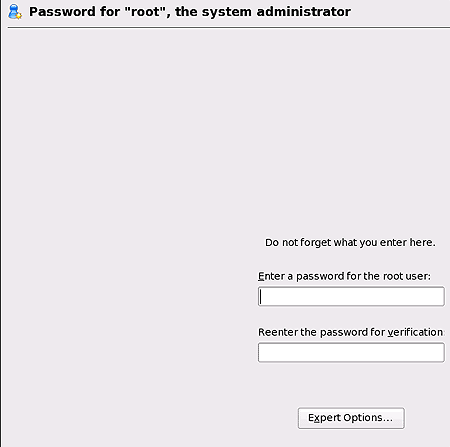
Once your system has rebooted, you
will find yourself back in the YaST environment, and being prompted for
a root password. 'Root' is the system administrator account on any Linux system, so
this can be considered the same as setting the 'administrator' password in
Windows XP.
DO NOT forget what you
enter here.

Next up is the network configuration, so
let's proceed...

