Find a free 3.5" drive bay in your case. Most
computer cases will have a row of covered 3.5" drive bays directly below the floppy drive. If there is no
floppy drive, they should be below the CD drive bay. Note that many 'big box' retailers like
Dell place hard drives in alternate locations, so your experience may vary.
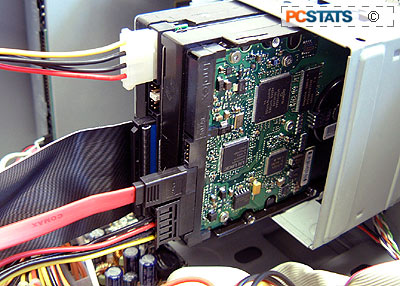
If you are installing a second hard drive, it's a good idea to leave a space
between your old drive and your new one if you can afford to. Hard drives can get
rather hot while operating, especially 7200 RPM drives, and this can affect their lifespan.
If you are nervous about heat, or you do not have a free 3.5"
bay, you can purchase a 5 ¼" adaptor kit at any computer store. This is simply a pair of
metal plates that screw on to the sides of the drive and widen it to fit
the larger bay size. It's not entirely necessary, but something to consider.
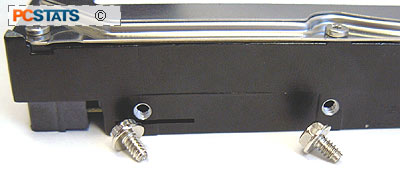
Slide the drive carefully into the free bay with the
connector end of the drive facing into the body of the computer, and
screw it in tightly on both sides. Hard drives generally use larger-threaded case screws like the
ones pictured above. These are identical to the screws used to secure the body panels
of most computer cases.
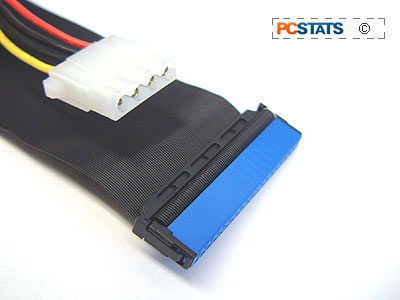
Your IDE hard drive needs a four pin Molex
connector for power, as well as the 80-pin IDE cable. Locate a free molex power connector coming from your computer's power supply. It's
best to avoid y-splitters when connecting power to a hard drive.
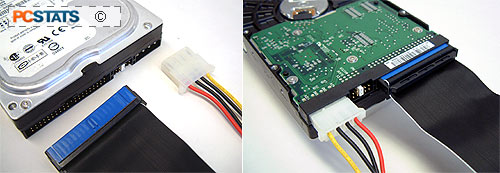
Attach the IDE and power cables to the
drive as shown below. It will be keyed to fit only one way. To make sure, the coloured stripe (typically red) on
one side of the IDE cable should always be facing the power cable.
The long end of the IDE cable should be
attached to one of the IDE connectors on the motherboard. If the hard
disk you are installing is the only hard drive in your PC system,
then the IDE cable must be plugged into the 'primary' IDE connector. To
determine which connector is which, consult the surface of the motherboard or
your motherboard manual. If you are installing a second hard
disk, you do not need to discriminate between connectors.
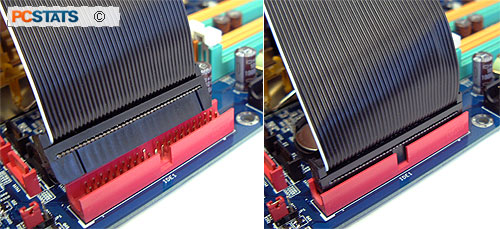
On older motherboards, the IDE connectors are
not always keyed to fit nicely with the IDE cable. If this is the case, you want
to have the stripe on the IDE cable facing pin 1 of the connector. Look closely
at the area surrounding the IDE connector on the motherboard, and orient the
cable towards the number.

