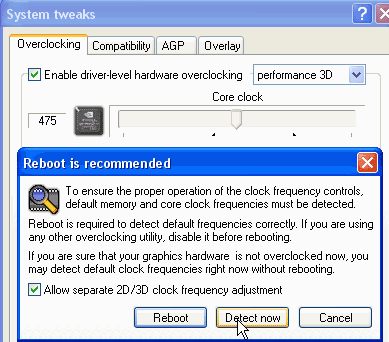
The first thing to do is to check the 'enable driver level hardware
overclocking' box to enable the sliders below.

RivaTuner needs to determine the card's default clock settings before it can
proceed. If Coolbits was used previously, make sure the card was reverted
to its default settings as mentioned above. Once this has been done, click
the 'detect now' button.

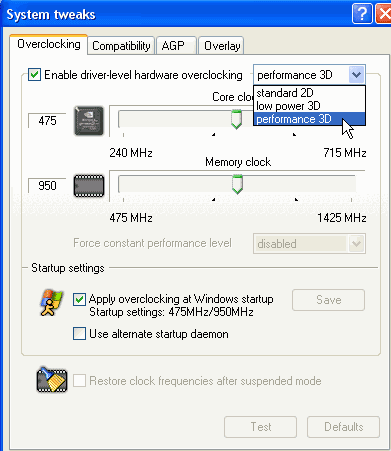
The overclocking sliders have been enabled, along with a 'mode' dropdown box
in the upper right corner. This switches between '2d', 'low power 3d' and
'performance 3d' modes. As with Coolbits, users will be spending most of
their time in the 'performance 3D' mode as there is not much point in
overclocking a video card when not using 3D-intensive applications.
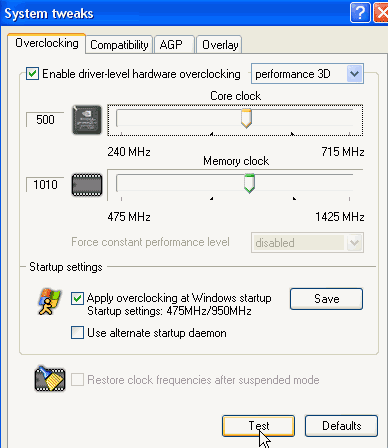
Now that the core clock and memory clock sliders are accessible, overclocking
can begin. The two small arrows delimiting a section of each slider
provide a recommended overclocking range, but the best bet is to increase the
settings gradually, benchmarking at each step (see our benchmarking section
below for details on this). As with Coolbits, each new setting must be
affirmed using the 'test' button at the bottom of the window before it can be
set permanently.

As with Coolbits, just because overclocked settings pass this test doesn't
mean that they will work with real world games and benchmarks.

