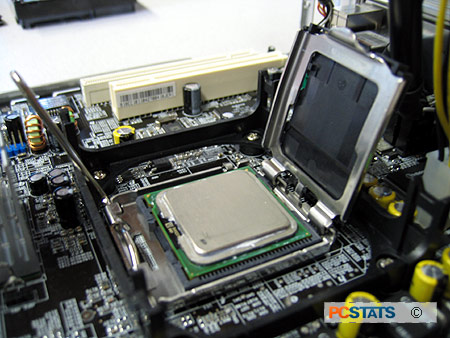
Holding the processor by its
sides, orient it so that the two socket extensions will fit into the two notches
on the processor. Lower the processor gently and vertically down into the
socket, ensuring that it is lowered straight and sits evenly. There are two gaps
in the plastic wall of the socket that provide space for your fingers as you
lower the chip, so use them.

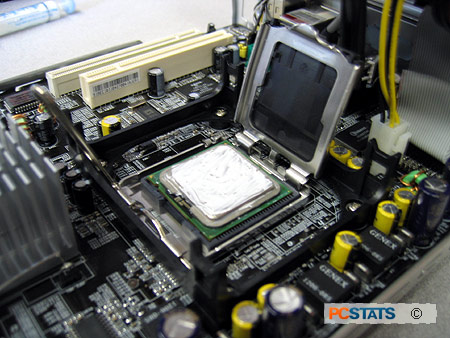
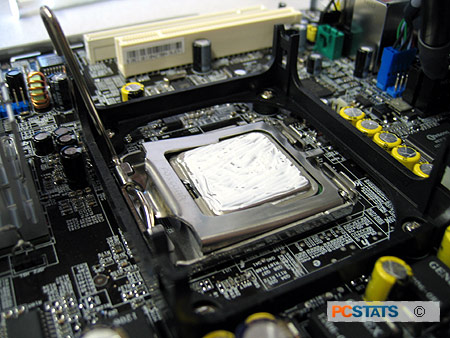
Once the chip is correctly seated in its socket, apply
a small blob of thermal paste to the middle of the processor and spread it out
with the edge of a credit card or other flat tool so that it forms an
even, thin layer on the surface of the chip.

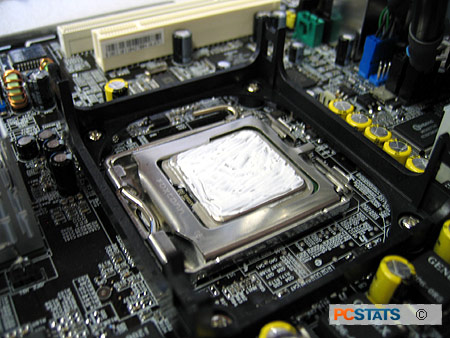
Now
remove the protective plastic cover and
close the metal load plate. It will not close completely, as you can see
below.

Press one finger down gently on the load plate where it is
not completely closed, then rotate the metal lever down towards the closed position
with your other hand. Push it down and away from the socket until you
can fit it under its retention clip. Securing the lever under the retention clip will fasten
the load plate correctly and should cause the plastic protective cover
to come loose if you haven't already removed it.

If
the plastic cover does not come loose, you can safely remove it now by
prising it away from the load plate with your finger. In either case, remove and save
the plastic protective cover for later. The processor is now properly
installed and ready for the heatsink to be seated.

