 When dealing with a SFF PC, it's best to connect as many
cables as you can before you fully assemble the PC, as it can be extremely difficult
to reach the cables afterwards. The Aopen XCube is no exception, so
plugging in the Hard drive and CD drive data cables now is the best way to
go.
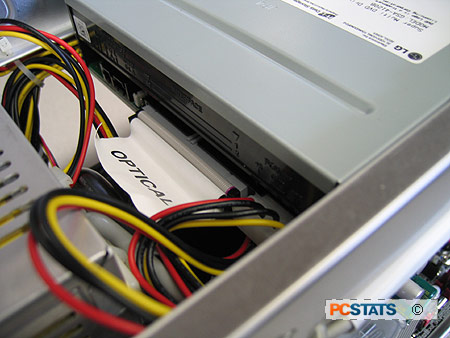
When dealing with a SFF PC, it's best to connect as many
cables as you can before you fully assemble the PC, as it can be extremely difficult
to reach the cables afterwards. The Aopen XCube is no exception, so
plugging in the Hard drive and CD drive data cables now is the best way to
go.
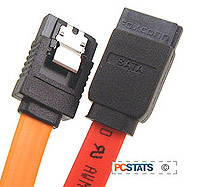
As the Seagate Barracuda is a Serial ATA drive, we
need to use a SATA data cable to connect it to the motherboard.
The sata data cable should be plugged into the first SATA port on
the motherboard, which should be clearly labeled as SATA_0 or SATA_1. The
cable is keyed to only fit one way, and it doesn't matter which end of the cable
you plug into the motherboard.
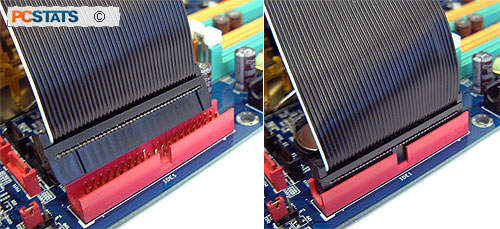
 The DVD writer uses an 80-pin IDE cable, which
should be plugged into the 1st (generally blue) connector on the
motherboard. Again, it is keyed so it can only fit one way.
Once these cables are securely plugged into the
motherboard, place the removable rack with the hard drive and DVD drive
installed back into the body of the case and screw it in.
The DVD writer uses an 80-pin IDE cable, which
should be plugged into the 1st (generally blue) connector on the
motherboard. Again, it is keyed so it can only fit one way.
Once these cables are securely plugged into the
motherboard, place the removable rack with the hard drive and DVD drive
installed back into the body of the case and screw it in.
Now it's
time to connect the hard drive to the motherboard and power supply. As
the Seagate Barracuda is a Serial ATA drive, we need to use
the other end of the SATA data cable we plugged into the motherboard, and also since the drive
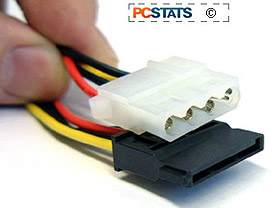
uses a SATA power connector (some SATA drives use the conventional 4-pin Molex
connectors that IDE hard drives and CD-ROMs use), we need an adaptor to convert
a Molex power plug into a SATA power plug.
Plug the SATA data cable and
power adaptor cable into the appropriate connections at the back of the hard
drive. They are keyed so they will only fit one way.
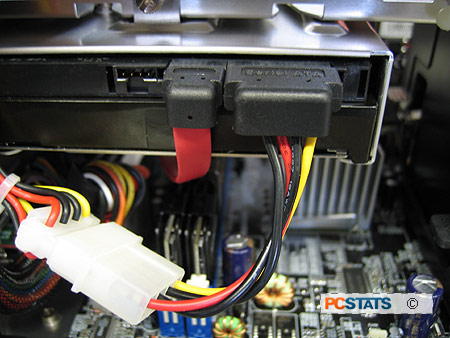
Now connect the other end of
the SATA power adaptor to a free Molex 4-pin power connector.
Now to connect the DVD
writer. The other end of the 80-pin IDE cable attaches to the
corresponding connector in the back of the drive, while a free 4-pin Molex
connector should be plugged in to provide power. Both connectors are keyed
to only fit in one direction.
Next up, we'll
install the videocard and TV-tuner into this small form factor home theatre
PC...