We're going to assume you have an Intel motherboard and
processor at hand, both still in their boxes. For this DIY Guide PCSTATS will be
using an Intel Core i7 920 processor and an MSI Computer X58 Platinum motherboard
.
Step 1: Remove the motherboard from its box and
protective packaging. Place the anti-static bag or foam mat under the
motherboard to protect it, then lay the board down on a flat space like a
table.
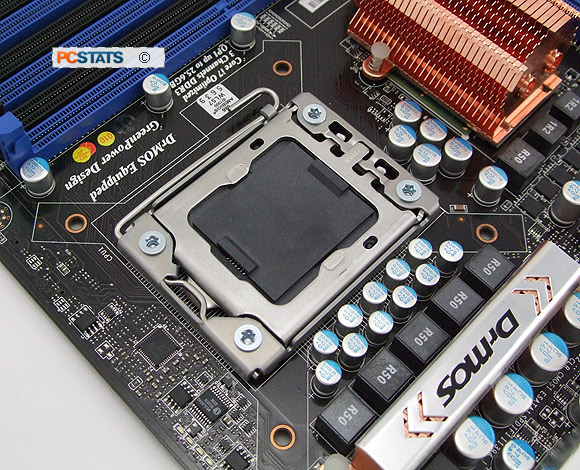
Gently but firmly press the metal lever down and away from the Socket to release
it, then pull it back until it hangs loosely. This will release the shim
(load plate).
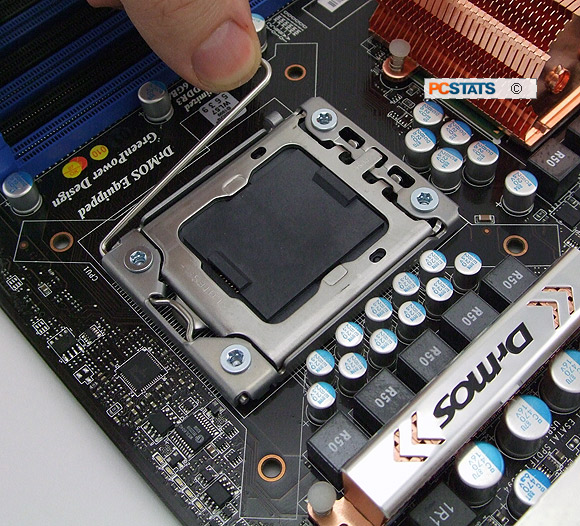
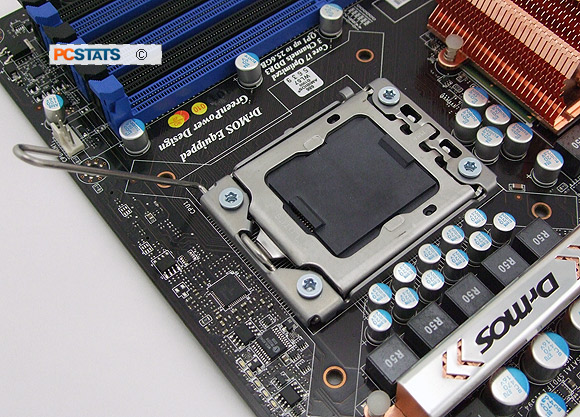
Using the small metal tab on the
right edge of the load plate, push down to flip up the load plate to
expose the protective cover and CPU socket.
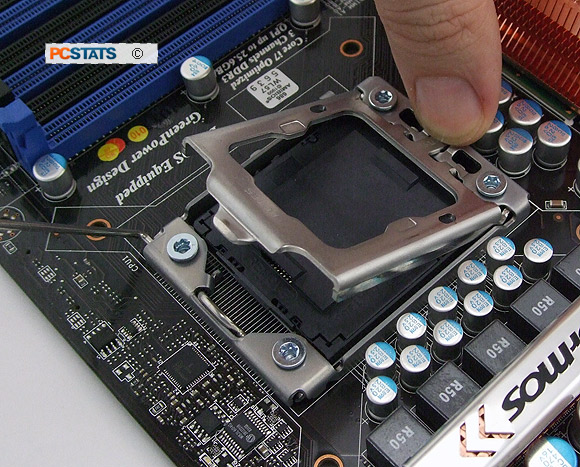
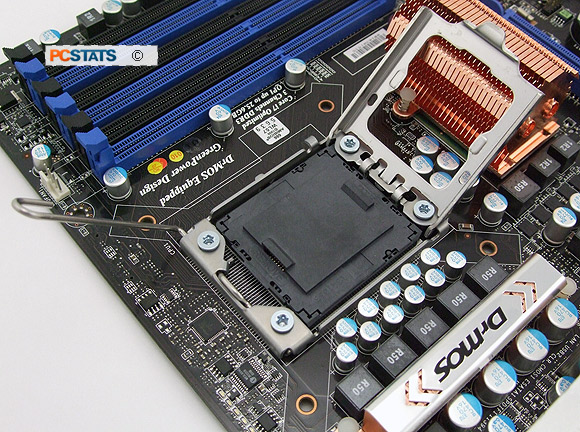
Remove the
protective plastic cover and store it in the motherboard box (don't throw
it away). Make sure not to touch the pins below!
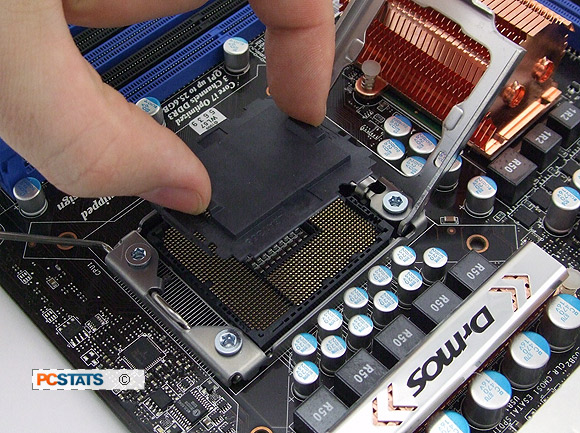
Take a moment to examine the pins, ensuring that none are bent and
that no foreign material is present. If you see anything out of position, a pin
may be dislodged from the LGA1366 socket.
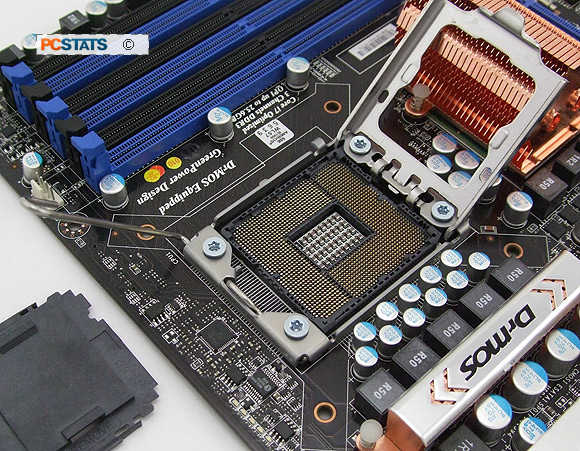
If a pin is out of place it may be possible to very carefully
nudge it back into place with the tip of a sharp pin. Now back to the
installation...

