Intel accomplished a couple of noteworthy things
with its Core i7 socket 1366 processor formfactor, the most noteworthy
was integrating the memory controller directly onto the CPU die to
substantially reduce the complexity of the motherboard. Major architectural changes were also brought about by the Intel Core i7 family of processors, but like the socket LGA775 Intel Core
2 Duo processors that preceded it, the Core i7 is
a pinless chip. Removing the vulnerable and delicate interface pins from the
bottom of a CPU make possible increasing pin densities
that complex CPUs demand. It also increases the complexity and
risk involved in installing one of the new socket LGA1366 processors into a
motherboard.
Each Intel
motherboard now has a CPU socket with very fragile little pins exposed to the
world above. Touching these pins, or heaven forbid, dropping a CPU
accidentally onto the exposed socket can easily damage it beyond repair.
Here at PCSTATS we've had our share of troubles with
computer hardware, and received a good deal of questions from readers who aren't
entirely confident they can install an Intel Core i7 CPU into a fresh
motherboard, or upgrade one of these socket LGA1366 processors to a faster
model. We thought we'd run off a quick Beginners Guide
illustrating the procedure for installing a socket 1366 CPU for the
benefit of our readers. If you are planning on building a Intel based computer
anytime soon, bookmark this PCSTATS Beginners Guide.
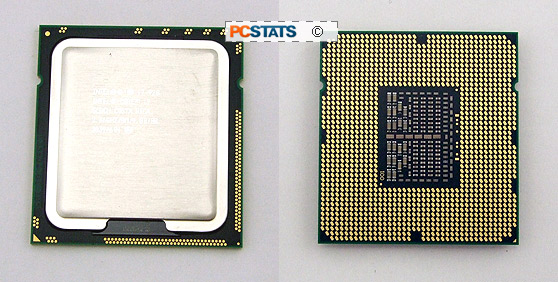
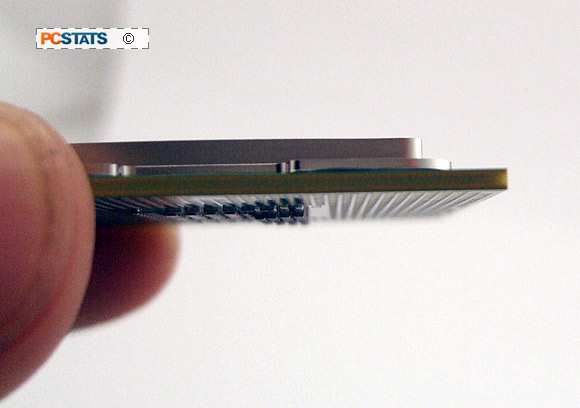
Intel LGA 1366 processor and socket

As you probably know by now, Intel processors have no
pins at all. Instead they merely have the electrical contacts where the pins (which are
now built into the socket on the motherboard) will touch. While
the lack of pins makes Core i7 socket 1366 and socket 1156 these
chips much less fragile, the bottom of the processor should not be touched, as
the gold contacts can be damaged by the oils on your fingers.

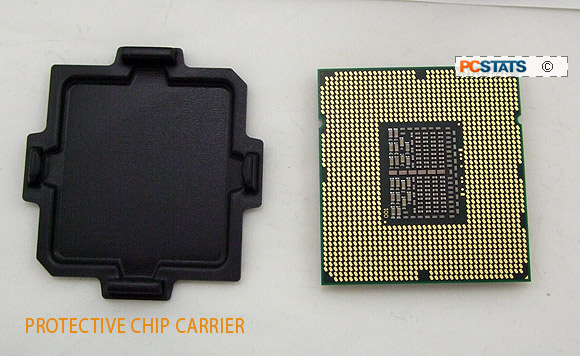
The correct way to hold a socket 1366 processor is by
the edges so your fingers do not touch the delicate gold pads. This prevents you
from accidentally shorting out the CPU with static electricity and it's actually the correct
way to hold a circuit board. Always leave the black plastic protective chip carrier in place on the processor until you are ready
to install it into a motherboard.

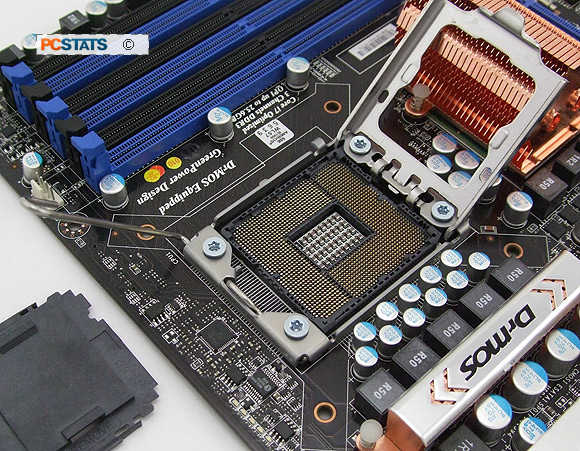
As you can see, the array of pins which connect the processor to the
motherboard are now attached to the socket and they are very
fragile and easily bent. All socket 1366 motherboards feature
the metal shim (load plate) pictured below, which serves the dual purpose of locking down the
processor once it is installed and protecting the pins from harm
when it is not.
A protective plastic cover fits over the pins when no processor is present, hiding the pins
completely. The lever secures the shim in place, holding the processor
when it is installed.

It is extremely important that the processor be installed slowly, carefully
and vertically into the socket, and removed the same way. Any careless
handling will damage the pins, and may leave you with a useless
motherboard.
PCSTATS will now describe the step by step process of installing one of these Intel socket 1366
Core i7 processors correctly. It's not the hardest thing in the world, but it pays to be careful and follow a predetermined set of
steps...

