Note the two spaces in the socket frame in the image below, this is
where your fingers should grip the Intel processor. The space allows you to
slowly and gently lower the CPU into the LGA775 socket. The CPU alignment
notches are highlighted next to the orange arrows.
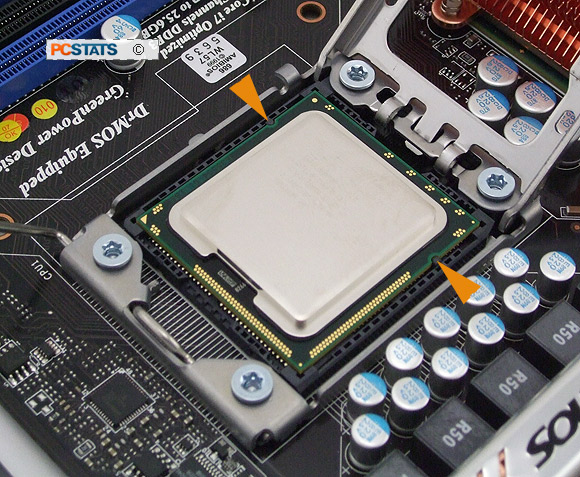
The Intel processor should sit flat in the LGA1366 socket, with the little gold triangle
pointing towards the cam lever arm (lower left corner in the picture above).
In the CPU is not flush in the socket, or the tabs are not aligned, remove and
check the orientation once more.
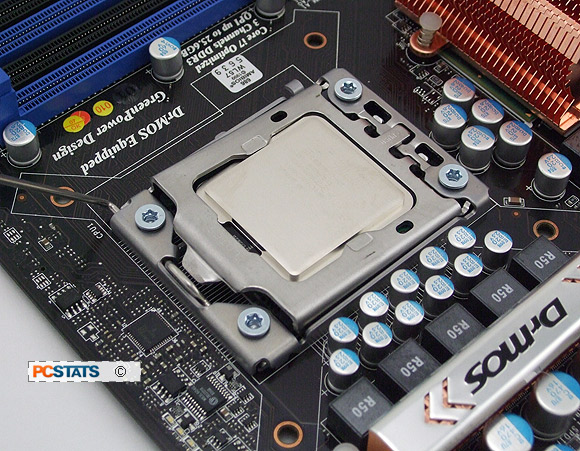
Now close the shim (load plate) and protective plastic cover. It will
not close completely, as you can see below.
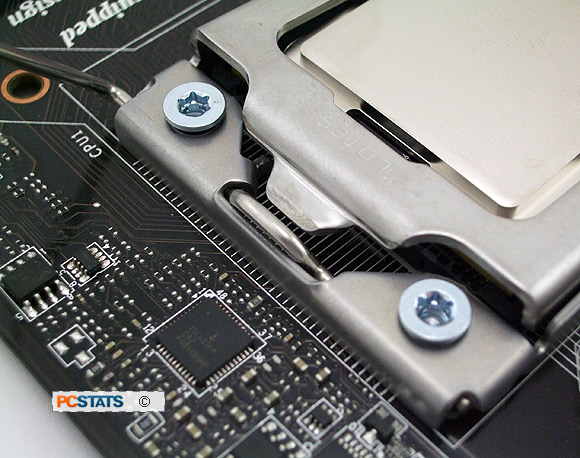
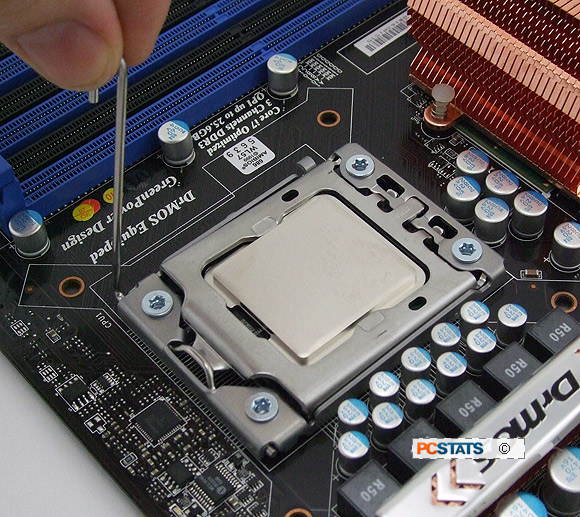
Press one finger down gently on the load plate where it
is not completely closed, then rotate the cam lever arm down towards the closed
position with your other hand.
Push the lever down and away from the socket until you can fit it
under its metal retention tab.
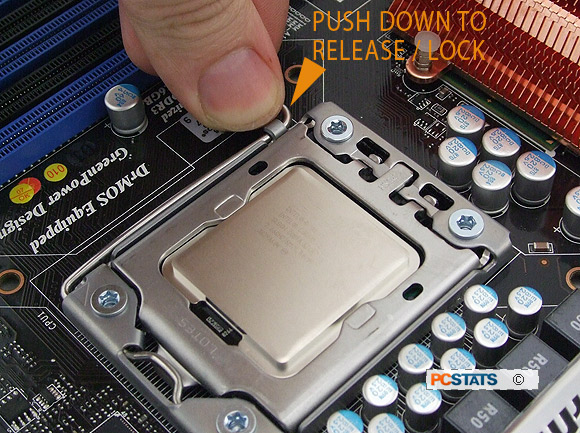
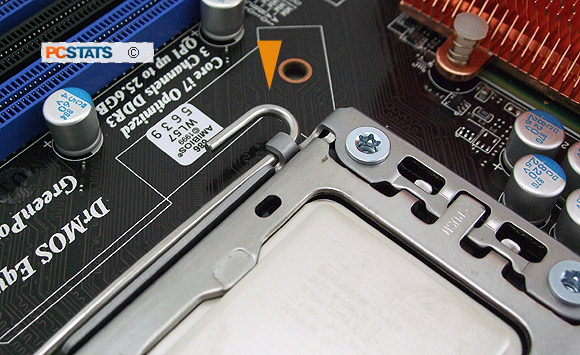
Securing the lever under the retention tab will fasten
the load plate correctly. Your processor is now correctly in place and ready for heatsink installation. Before
you can do this though, you should install the motherboard correctly into your
computer case. If you need any help on this topic, see this PCSTATS guide
on the subject.
Now it's time to install the heatsink, this isn't
complicated but can be a little tricky in the confines of a dark computer case.

