Remove the Intel Core i7 processor from its box and
plastic clam shell packaging. To take off the protective black plastic chip carrier cover, hold
the processor by its corners and release one of the plastic tabs.
Be careful not to touch the contacts on the underside.
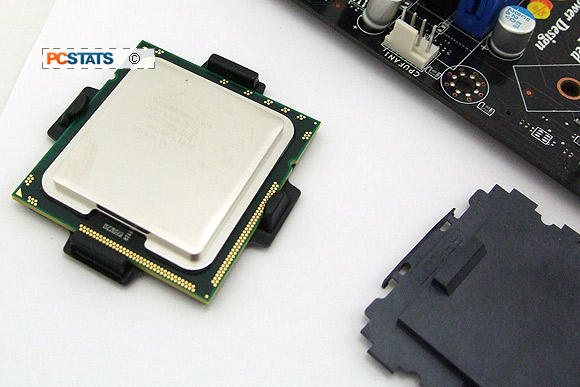
Now holding
the processor by its sides or corners, look at the bottom. Check
for any damage or foreign material on the contacts. Also note the
two alignment notches on either side of the processor pictured below.
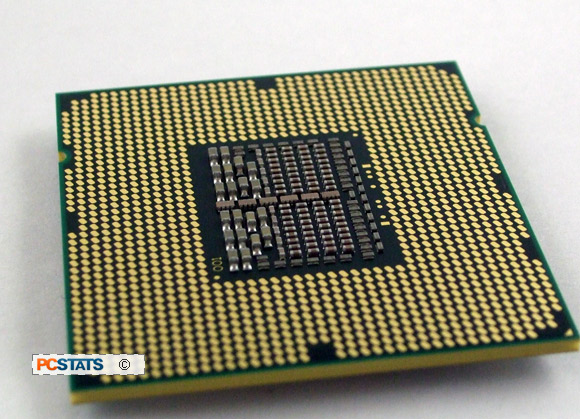
These fit into the pair of plastic extensions pictured below on the
LGA1366 socket, ensuring that the processor is oriented correctly.
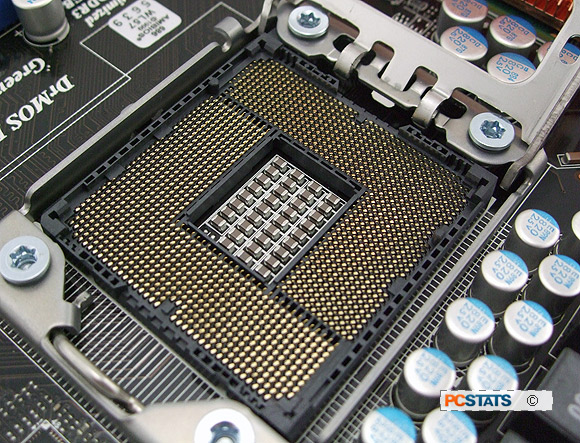
Holding the processor by its sides, orient it so that the two socket extensions will fit into
the two notches on the processor. Lower the processor gently and vertically
down into the socket, ensuring that it is lowered straight and sits
evenly.
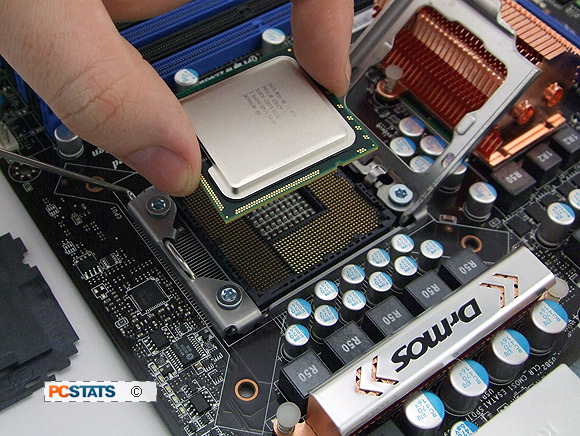
There are two gaps in the plastic wall of
the socket that provide space for your fingers as you lower the chip, so use them. For illustration
purposes the Intel processor is shown below with one of the tabs
lined up. You should not install the CPU at an angle like this
however.
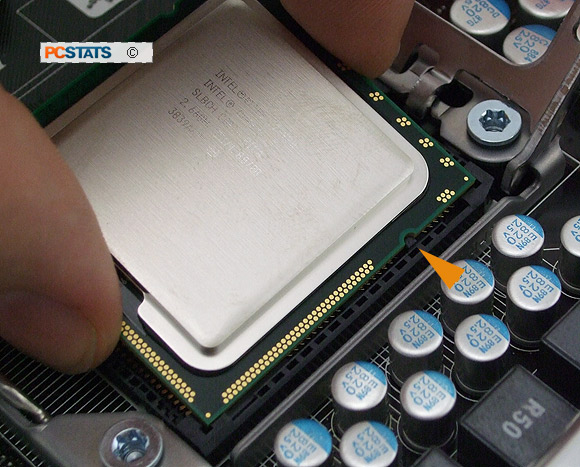
It's advisable not to drop the CPU into place, as that may damage the fragile contact
pins.

