Next we turn our attention to Ebay. There are two ways
to go about searching for a replacement screen:
1) search by the part
numbers listed on the back of the damaged LCD screen
2) search by the notebook make and
model number.
We chose to search by the notebook make and model
number ("Lenovo T530") as
there were more search results this route. Four different manufacturers make
LCD panels for laptops ( Samsung, AU Optronics, LG and Sharp ), it doesn't
matter which mfgr. makes the LCD panel, as long as the technical details match
the broken screen.
Once we found a few candidates selling replacement LCD
panels for a "Lenovo T530
" and similar model numbers, we used the information collected in the Four-point
Technical Detail Checklist to ensure we purchased a compatible
LCD panel.
Ebay Candidate #1 ( link) listing title: "New/Orig IBM Lenovo T530 W530 15.6
HD lcd screen 04W3341 0A66661 matte B156XTN02", being sold from mainland China. Cost: $88.88 +
$35 shipping.
The LCD screen panel was 15.6" in size with a matt surface finish and
resolution of 1366x768 pixels. The low resolution item photo indicated placement of
the data cable was good, even though the circuit board was a different size
and shape. The LCD panel for sale was made by AU Optronics, so these differences
were not surprising as our broken screen is manufactured by Samsung. It was
listed as having an LED backlight and according to the seller, suitable for
a Lenovo model: T530 notebook. Everything looked good except for one tiny
detail - this screen for sale had a 30-pin connector. A 30-pin cable connection
is not compatible with the 40-pin cable used in our Lenovo T530 notebook. The
"30-pins" may have been a typo in the listing, maybe not. The model number
B156XTN02.1 was identical to the panel we ended up buying, however Candidate #1
had "Hardware:2A Firmware:1", while the unit we ended up purchasing from Ebay
Candidate #3 had "Hardware:3A Firmware:1". Faced with uncertainty and a 30-day
typical ship time from mainland China, we decided to skip this seller and keep
looking.
Ebay Candidate #2 ( link ) listing title: "IBM-LENOVO THINKPAD
T530 2429-2EU REPLACEMENT LAPTOP 15.6" LED LCD SCREEN" , being sold from California. Cost: $59.95 + $12
shipping.
The screen specs matched on all points -
size: 15.6", resolution: 1366x768, connector pins: 40, notebook model: Lenovo
T530. The low resolution photo matched up the placement of the connector but
the screen surface finish was glossy. Technically this didn't matter and the
LCD panel would have worked. We skipped this seller and kept looking because glossy
laptop screens reflect lights in the background and that's not a distraction we wanted
to deal with.
Ebay Candidate #3 (link) listing title: "New 15.6" WXGA Matte LCD LED Screen For IBM
ThinkPad T530",
being sold from Texas. Cost: $59.95 + $48.90 shipping.
This listing had no item
photo of the actual product, but the seller did offer panels for our model notebook
in each of the three resolutions it comes in, so we took
that as good sign. In the listing the screen size matched: 15.6", the resolution was
correct: 1366x768, screen finish was: matte and the backlight was correct: LED. We
sent an email to inquire about the data cable and '40-pins' was confirmed.
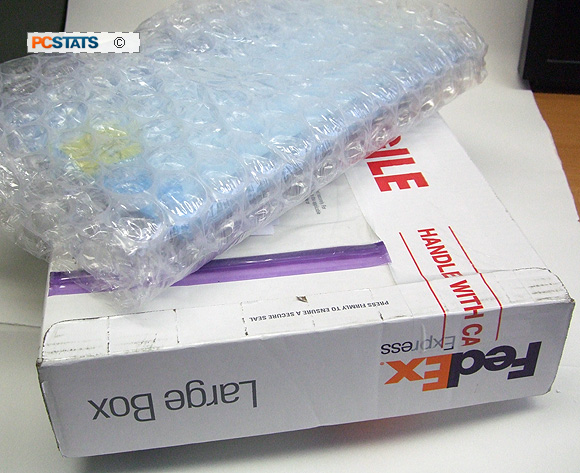
Shipping was expensive, but shipping from the United States always is. After checking the Feedback Rating of seller "laptopservicecenter", we committed
to buy the LCD panel Friday afternoon. It arrived in a FedEx box Monday
morning, safely wrapped in a couple layers of bubble wrap.
Total spent, including tax and import tariff's: $127 CDN.
Step Four: Disassembling the Notebook Screen Assembly
Before you start disassembling the notebook screen, find a flat surface with good lighting to work at. Set aside a small box with some foam in it to hold the tiny screws as you remove them. It's a good idea to take a photo before moving or undoing any wires or cables -do this methodically so when it comes time to reassemble the screen you'll know the correct path wires must take.
Finally, assemble all the tools you'll need for the job and unpack the replacement screen, but leave it in the anti-static bag until the moment you're ready to install it.
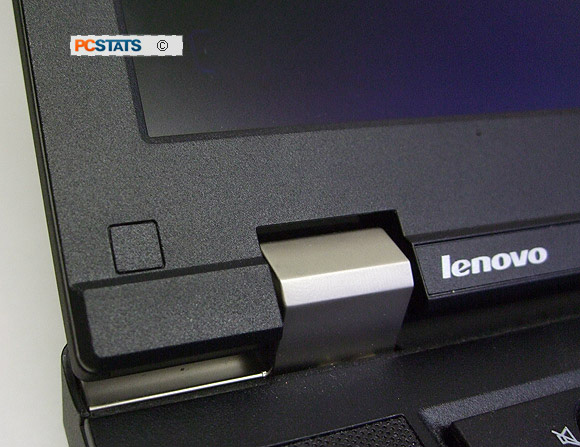
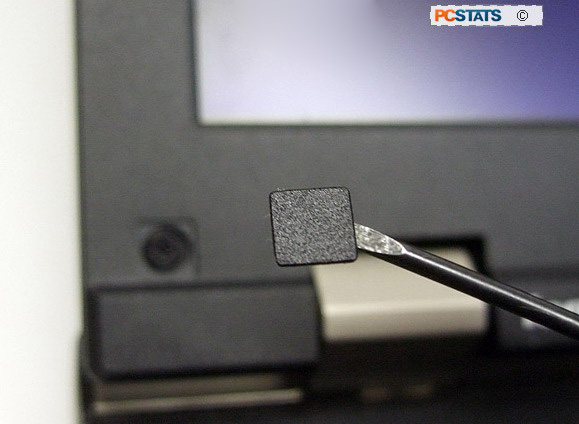
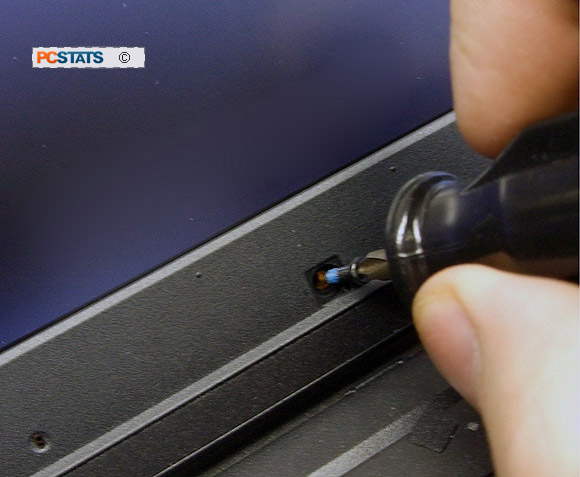
The Lenovo T530 makes disassembling its screen panel assembly very
easy. There are three small squares (stickers) which hide the screws holding
the screen bezel together. Carefully remove the stickers with the tip of a
knife or small screwdriver and set them aside against a bit of plastic so as not to wreck
their adhesive backing.