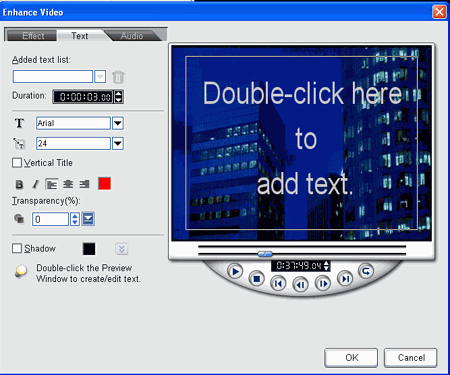
The 'create menu' button
affects whether a menu will be created for the DVD. If selected, menu creation
is handled on the next page. The 'enhance video' button gives you the ability to
add transition effects, sound and animated text to your DVD. Go wild!

When you are sure you have all
the clips, chapters and effects that you need for your DVD, click the 'next'
button.

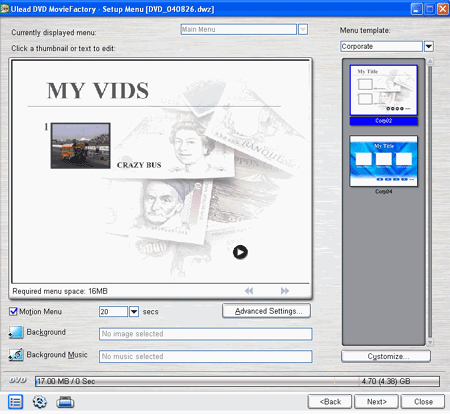
This brings us to the menu
setup screen, where you can configure the menu that will appear when you pop the
DVD into your player. The drop down box on the top-right allows you to select
from a variety of menu styles, and you can add music, background images and
customize the menu using the button along the bottom. Click on the text in the
preview window to change it, and click the pictures to change which still shot
from your clip you wish to use as a preview. The 'motion menu' option will
animate these pictures for a brief period.
When you have something you
like, hit 'next' to see a preview. From this next screen you can preview how the
entire DVD will look and operate using the player controls at the bottom. Use
the 'back' button to make changes. When you are satisfied, hit 'next' again.
This brings us to the final screen, where you will burn your creation onto DVD.
Click the 'output' button to begin the recording process and sit back. It's
going to take a while. Once your movie has finished, drop it into your DVD
player and enjoy.

